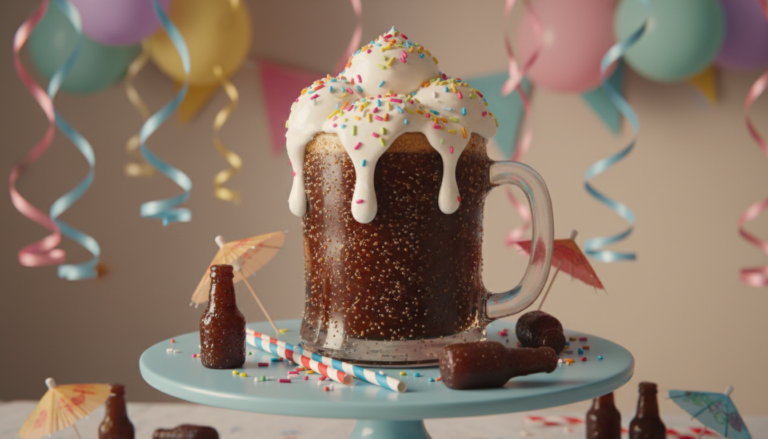
“Naked” Vanilla Ginger Ale Cake for Birthday Celebration
What if the most stunning birthday dessert you ever made was also one of the easiest? Check out our recipe to make this vanilla ginger ale cake.
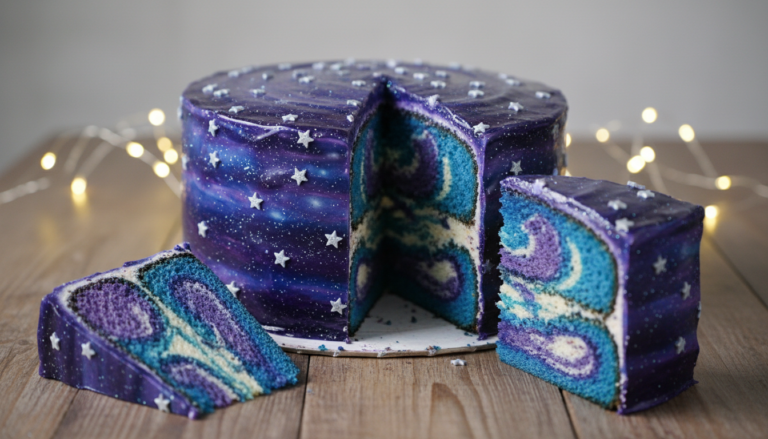
You are about to discover a beautiful creation that breaks all the rules. This show-stopper combines an unexpected, fizzy flavor with a timeless favorite.
The result is a masterpiece that looks like modern art but tastes like a celebration.
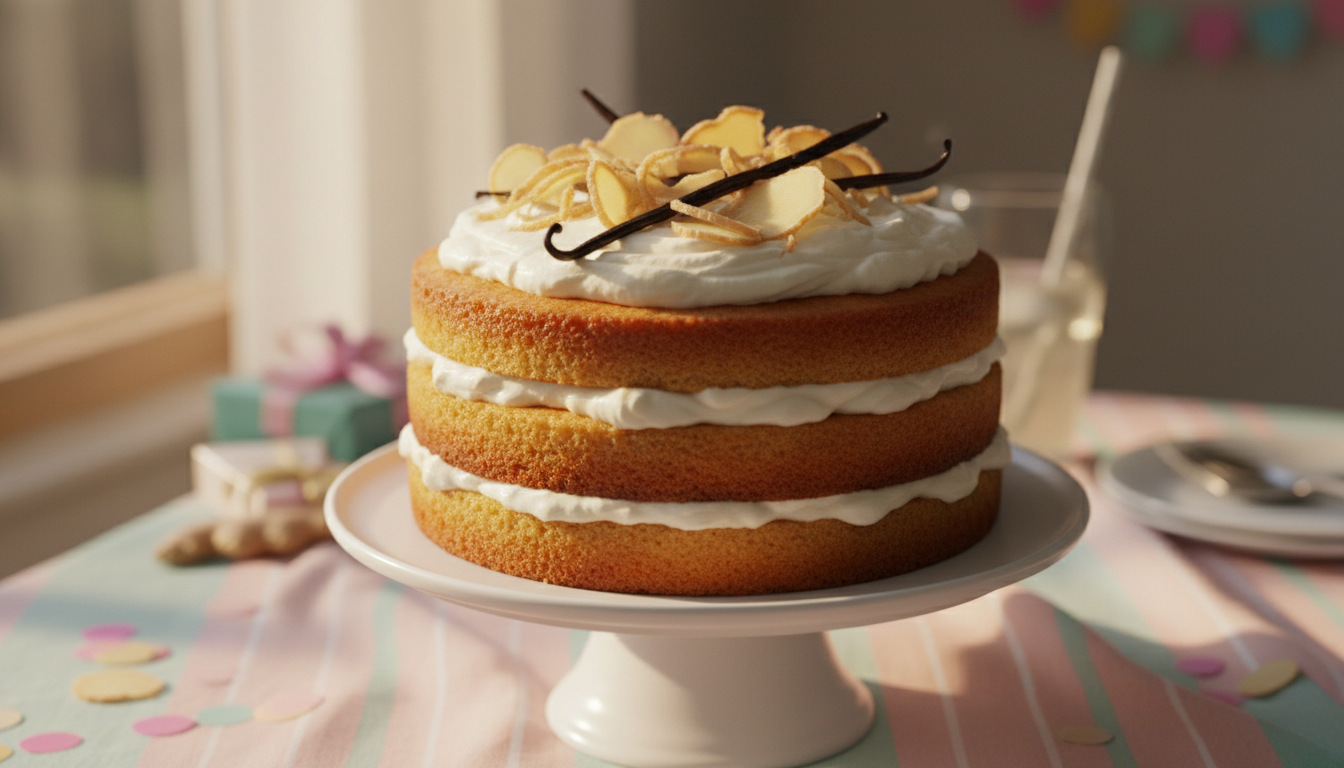
This style features exposed layers that proudly show off your baking skills. That also makes it easier to decorate in comparison to fully frosted dessert.
The aroma that fills your kitchen when you are baking this cake is simply divine.
It tastes like a delightful mix of cream soda and that fizzy, spicy drink we all love. It creates an unforgettable experience for you and your guests.
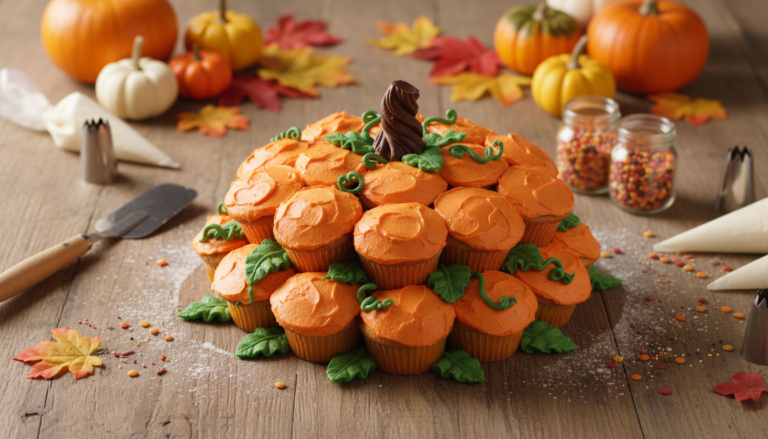
You can customize this gorgeous treat to match any party theme. Add ombre buttercream, colorful sprinkles, or fresh flowers.
It is perfect for a gender reveal, Valentine’s Day, or just a fun weekend project.
Best of all, this method is forgiving enough for little hands to help, so making it can become a joyful family activity.
You will create something truly special together.
Key Takeaways
- This dessert offers a stunning, modern look with exposed layers.
- The flavor profile is a unique and delightful combination.
- It is easier to decorate than traditional fully frosted cakes.
- You can easily customize the appearance for any celebration.
- The baking process is family-friendly and enjoyable for all skill levels.
- It creates a memorable sensory experience with its wonderful aroma and taste.
- This recipe is versatile enough for various special occasions.
Making a “Naked” Vanilla Ginger Ale Cake
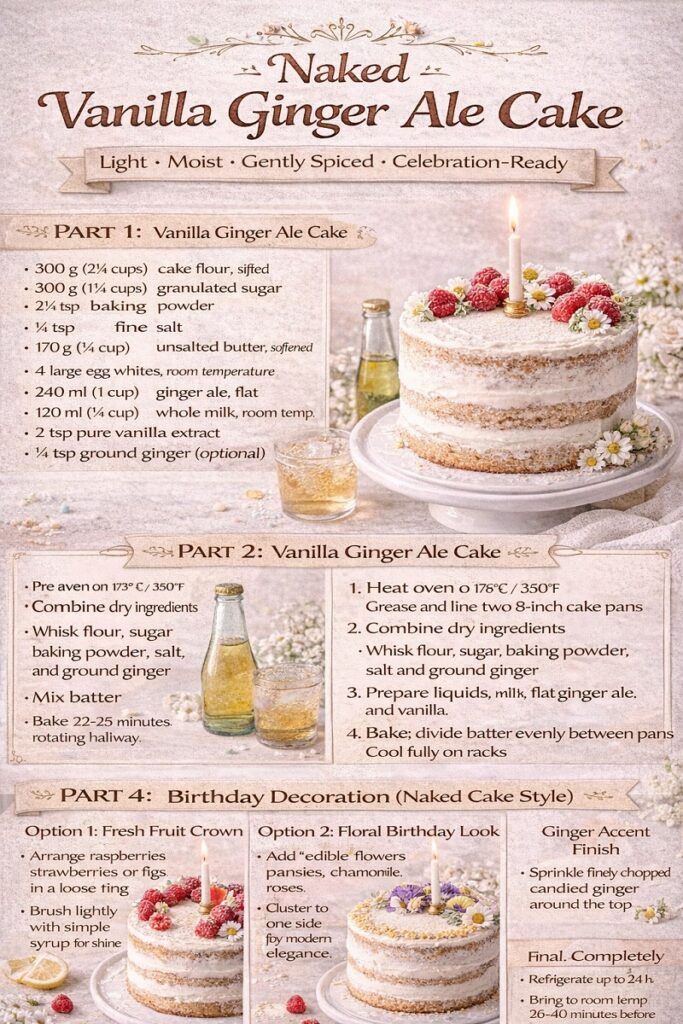
Here’s the recipe for making a “Naked” Vanilla Ginger Ale Cake that is: light, moist, and gently spiced.
In addition, you’ll find simple decorating instructions to make it birthday-ready while keeping the refined naked-cake aesthetic.
Yield: Two 8-inch layers (serves 12–14)
Texture: Soft, tender crumb with subtle effervescence
Flavor Profile: Warm vanilla, gentle ginger spice, light citrus finish
THE VANILLA GINGER ALE CAKE
Ingredients
- 300 g (2½ cups) cake flour, sifted
- 300 g (1½ cups) granulated sugar
- 2½ tsp baking powder
- ½ tsp fine salt
- 170 g (¾ cup) unsalted butter, softened
- 4 large egg whites, room temperature
- 240 ml (1 cup) ginger ale, room temperature and flat
- 120 ml (½ cup) whole milk, room temperature
- 2 tsp pure vanilla extract
- ¼ tsp ground ginger (optional, for extra warmth)
Method
- Prepare pans & oven
- Heat oven to 175°C / 350°F
- Grease and line two 8-inch round cake pans
- Combine dry ingredients
- Whisk flour, sugar, baking powder, salt, and ground ginger
- Incorporate butter
- Beat butter into dry ingredients until mixture resembles fine crumbs
- Prepare liquids
- Whisk egg whites, milk, flat ginger ale, and vanilla
- Mix batter
- Add liquids to dry ingredients in two additions
- Mix on medium until smooth and pale (do not overmix)
- Bake
- Divide batter evenly between pans
- Bake 22–25 minutes, rotating halfway
- Cake is done when tops spring back lightly
- Cool completely
- Cool in pans 10 minutes
- Turn out onto racks and cool fully
VANILLA MASCARPONE WHIPPED FROSTING
(Perfect for naked cakes as it is light, stable, and elegant)
Ingredients
- 225 g (8 oz) mascarpone cheese, cold
- 360 ml (1½ cups) cold heavy cream
- 75 g (⅔ cup) powdered sugar, sifted
- 1½ tsp vanilla extract
- Pinch fine salt
Method
- Beat mascarpone, powdered sugar, vanilla, and salt until smooth.
- Slowly stream in cream while mixing on low.
- Increase speed and whip until soft, spreadable peaks.
- Do not over whip.
ASSEMBLING THE NAKED CAKE
- Level cake layers if needed
- Place first layer on cake board
- Spread ¾ cup frosting evenly on top
- Add second layer
- Apply a very thin coat of frosting around sides
- Use an offset spatula to gently scrape, exposing cake layers
- Smooth the top but keep edges soft and natural
➡️ Chill 20 minutes before decorating
BIRTHDAY DECORATION (NAKED CAKE STYLE)
Simple & Elegant Decoration Options
1: Fresh Fruit Crown
- Arrange raspberries, strawberries, or figs in a loose ring
- Brush lightly with simple syrup for shine
2: Floral Birthday Look
- Add edible flowers (pansies, chamomile, roses)
- Cluster to one side for modern elegance
3: Ginger Accent Finish
- Sprinkle finely chopped candied ginger around the top edge.
- Add a single birthday candle or topper.
Final Birthday Touches
- Light dusting of powdered sugar
- Minimal cake topper
- Neutral candles in gold, white, or blush
Storage & Serving
- Refrigerate up to 24 hours
- Bring to room temperature 30–40 minutes before serving
- Best texture the day it’s assembled
Chef’s Notes
- Flat ginger ale ensures even crumb and gentle lift
- Naked cakes benefit from clean layers and restrained frosting
- This cake pairs beautifully with citrus or berry fillings if desired
Discover the Naked Vanilla Ginger Ale Cake
Envision a show-stopping creation that’s deceptively easy to prepare. This dessert combines visual drama with approachable baking techniques.
The exposed layer style makes decorating simpler than traditional methods. You achieve professional results with minimal stress.
| Feature | Traditional Frosted Cakes | Naked Cake Style |
|---|---|---|
| Decoration Time | 30-45 minutes | 15-20 minutes |
| Skill Level Required | Intermediate to Advanced | Beginner to Intermediate |
| Visual Appeal | Classic, uniform appearance | Modern, artistic presentation |
| Customization Options | Limited by frosting coverage | Endless creative possibilities |
Why This Cake Steals the Show
Your guests will marvel at the beautiful layers revealed when sliced. The ginger ale adds moisture and subtle spice without overpowering.
Vanilla buttercream creates a perfect creamy balance. Each bite delivers sophisticated flavor that reminds people of cream soda.
The Inspiration Behind Its Unique Flavor
This recipe was born from wanting to include young helpers in the kitchen. A five-year-old assisted in creating the Valentine’s Party centerpiece.
After testing both ground ginger and the bubbly beverage versions, the pure ginger ale approach won. It delivers better flavor and easier preparation.
Want another classic, delicious dessert using Ginger Ale? Then check out our Honey and Ginger Ale Layer Cake recipe inspired in the traditional Russian Tort.
Necessary Tools
Before the mixing begins, let’s ensure you have everything you need for baking success. Having your items organized streamlines the process and leads to a perfect result.
Must-Have Kitchen Tools for Success
The right equipment makes assembly simple. You will need three 8-inch round cake pans. A large mixing bowl is essential for your batter.
Use two small bowls for dividing the colored batter. Accurate measuring cups and spoons are crucial.
A hand or stand mixer saves time and effort. Have a whisk, an offset spatula for smoothing, and piping bags for decoration ready.
Cooling racks are vital for preparing your layers.
Step-by-Step Recipe Walkthrough
The magic happens when you combine simple ingredients with a few key techniques. This guide will lead you through the process, ensuring your creation turns out perfectly.
Start by preheating your oven. Prepare your three 8-inch round pans by greasing and flouring them.
Adding parchment paper squares to the bottom guarantees your layers will release without a hitch.
Preparing the Batter and Color Variations
Begin the batter by creaming the butter and sugar together. This crucial step incorporates air for a tender texture.
Add the eggs one at a time, beating well after each. Then, mix in the vanilla extract. In one small bowl, whisk your dry ingredients together.
In another small bowl, combine the fizzy beverage and cream. You will alternate adding these mixtures to the creamed butter.
This professional method builds the structure of your dessert.
Creaming, Mixing, and Layering Techniques
Follow this order for the best results. Add one-third of the flour mixture, then half of the liquid mixture. Repeat, ending with the final flour addition. Mix just until combined after each step.
Now, create your beautiful ombre effect. Divide the batter equally into three portions. Use food coloring to dye one portion a light pink and another a dark pink.
Leave the third portion its natural color.
Pour each colored batter into its prepared pan. Bake for 25 to 30 minutes. Remember to rotate the pans halfway through for even baking.
Your masterpiece is done when a toothpick inserted comes out clean.
Let the layers cool in the pans for two minutes. Then, carefully turn them out onto wire racks to cool completely. They are now ready for your creative frosting and decoration.

Baking Techniques and Tips
Perfect timing and temperature control make all the difference in achieving bakery-quality results.
These simple techniques ensure your layers bake evenly and maintain their beautiful structure.
Oven Settings and Baking Time Considerations
Set your oven to 350°F for this recipe. Your baking time will be approximately 25-30 minutes.
Start checking around the 25-minute mark since oven temperatures can vary. Rotate your pans halfway through the baking time.
This prevents hot spots from creating lopsided layers that are difficult to stack.
Ensuring a Toothpick Comes Out Clean
The most reliable test for doneness is when an inserted toothpick comes out clean from the center.
A few moist crumbs are acceptable, but you don’t want wet batter. The dessert should also spring back when lightly touched.
When your inserted toothpick comes clean, remove the pans from the oven. Let them cool in the pans for exactly two minutes.
Then turn them out onto cooling racks to finish cooling completely.
For professional results, cover your completely cooled cakes in plastic wrap. Refrigerate them overnight.
This helps seal in moisture and makes trimming easier with minimal crumbling.
Chilled layers are firmer and more stable for stacking.
Creative Decorating Ideas
Now for the most artistic part, transforming your baked layers into a stunning masterpiece. This is where your personal style shines through.
The process is surprisingly simple and incredibly fun. You will create a beautiful watercolor effect that looks professionally designed.
Ombre Buttercream and Piping Bag Techniques
Begin by preparing your buttercream frosting. Whip the ingredients together, adding the fizzy drink gradually. Beat for one minute after each addition for a perfect, smooth consistency.
Divide your frosting into three separate bowls. Keep one portion white. Dye the second a light pink and the third a dark pink.
First, apply a thin crumb coat over your stacked dessert. This initial layer of frosting seals in crumbs. Let it set in the refrigerator for at least an hour.
Next, scoop each color into its own piping bag. This gives you total control. Snip the end off your first pink bag.
Pipe random squiggles and lines of frosting all over the surface. Repeat this process with your other pink bag. Fill any gaps using your white piping bag.
Adding Sprinkles and Personal Touches
Now, take your offset spatula. Gently smooth all the piped frosting down into one even layer. This action blends the colors into a gorgeous ombre effect.
Before the frosting sets, sprinkle rainbow sprinkles generously over the top and sides. This adds a festive, celebratory finish.
For a different look, consider fresh decorations. Blackberries, blueberries, or edible flowers create a rustic, natural appearance. This is perfect for garden parties or other special events.

Variations and Substitutions
Once you’ve mastered the basic recipe, a world of creative flavor combinations opens up. This foundation is wonderfully adaptable.
You can easily tweak it to suit different seasons or personal tastes.
Feel free to experiment and make this dessert uniquely yours. The possibilities are nearly endless.
Alternate Flavors and Frosting Options
For a bolder spice note, try using ginger beer instead of the standard bubbly drink. It introduces a deeper, more robust flavor profile that many enjoy.
You can also intensify the ginger experience by sprinkling finely chopped crystallized ginger between your layers.
This adds a delightful chewy texture and concentrated flavor.
Your frosting choices can completely transform the final product. Consider a rich caramel frosting for an indulgent twist.
A bright lemon glaze or curd filling creates a lovely citrusy contrast.
Chocolate lovers will adore a spiced version. Simply mix cinnamon powder into your chocolate buttercream or ganache.
You can even stir mini chocolate chips directly into the batter for pockets of melted goodness.
For a fruity variation, fold finely diced pears or apples into the mix. Using apple pie filling between layers is another comforting option.
This basic formula is your canvas for endless delicious creations.
Troubleshooting and Pro Tips
Avoid common pitfalls with these essential baking guidelines that guarantee perfect results. Even small adjustments can make a big difference in your final creation.
Avoiding Common Baking Mistakes
Always use unsalted butter for complete control over salt levels. This prevents your dessert from tasting too salty.
Room temperature ingredients blend together smoothly without lumps.
Let your eggs, butter, and cream sit out for 30-60 minutes before starting. This ensures even mixing and proper texture development.
Resist the temptation to over-mix your batter even though it seems thick. Over-mixing develops gluten and creates a tough, dense result instead of a tender one.
The combination of fizzy beverage and sour cream is essential for unique flavor and moisture. Don’t substitute these ingredients or you’ll get disappointing results.
Chill your completely cooled cakes overnight wrapped in plastic. This locks in moisture and makes trimming easier with minimal crumbling.
Never assemble or frost a warm dessert. The heat will melt your buttercream and create a messy situation. Patience is key for perfect assembly.
Rotate your pans halfway through baking time. Most home ovens have hot spots that cause uneven baking and lopsided layers.
If your finished cakes turn out dry, you likely over-baked them or left them uncovered too long. Always use the toothpick test and store properly.
The perfect treat for a birthday celebration.
You now have all the tools to create a masterpiece that will be the cherry-on-top of any birthday celebration.
This cake recipe delivers both stunning visuals and incredible flavor in one beautiful package.
The exposed layer style saves time while creating a modern, artistic presentation. Your buttercream technique produces professional results every time.
This dessert works perfectly for any celebration. It’s forgiving enough for family baking yet impressive for special events.
Whether you make the classic version or experiment with variations, this recipe will become a favorite in your collection.
Want a another soda cake recipe that is perfect for any celebration? Then check out this White Chocolate Sprite Cake recipe.