Easiest Raspberry Syrup Recipe
Want to transform slightly overripe berries into a dazzling culinary secret weapon? Then you need to learn the easiest raspberry syrup recipe.
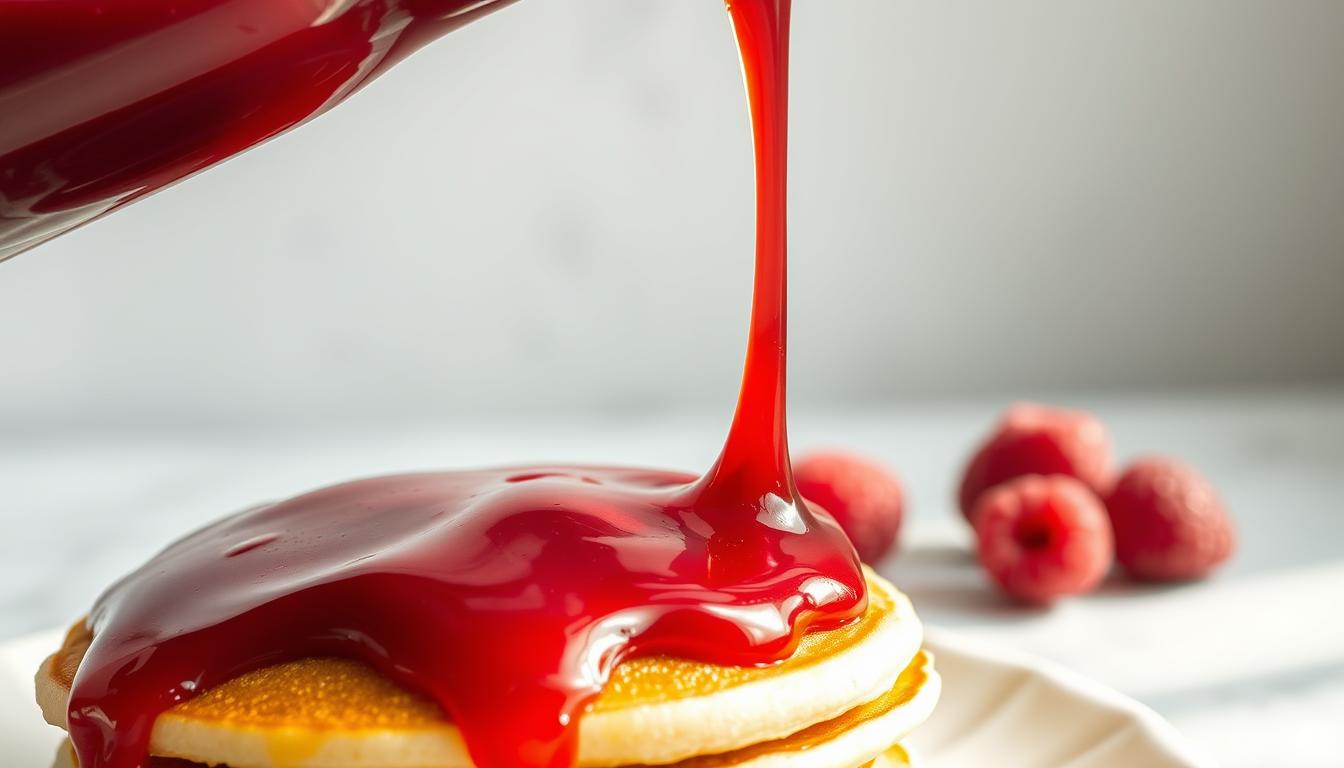
This vibrant liquid elevates pancakes, cocktails, and desserts through pure berry alchemy.
You need just fresh raspberries, sugar, and water to create a ruby-red syrup that outshines store-bought versions.
The magic happens when heat coaxes out natural juices, blending them with sweetness into silky perfection.
Perfect for berries that are softening but still flavorful, this method prevents waste while maximizing taste.
In minutes, you’ll watch ordinary fruit morph into glossy syrup ready to drizzle over ice cream or mix into sparkling drinks.
Ready?
Let’s get into it.
Key Takeaways
- Requires only 3 common ingredients.
- Ready in under 15 minutes.
- Rescues berries nearing overripeness.
- Works equally well in drinks and desserts.
- Delivers professional-quality results.
Raspberry Syrup Recipe
Here’s the simplest recipe to make Raspberry Syrup.
Ingredients (Makes ~1 ½ cups)
- 1 cup (200 g) granulated sugar
- 1 cup (240 ml) water
- 2 cups (250 g) fresh or frozen raspberries
Instructions
- Combine Ingredients – In a medium saucepan, add sugar, water, and raspberries.
- Simmer – Place over medium heat and stir until the sugar fully dissolves.
- Cook Down – Continue simmering for 8–10 minutes, gently mashing the raspberries with a spoon to release their juice.
- Strain – Remove from heat and pour through a fine mesh sieve into a clean bowl or jar, pressing to extract all the liquid. Discard seeds and pulp.
- Cool & Store – Let cool to room temperature. Store in an airtight container in the refrigerator for up to 2 weeks.
Tip: For a more intense raspberry flavor, simmer for an extra 5 minutes before straining.
Shop This Recipe
|
Medium-size Saucepan | |
|
Silicon Whisk Set | |
|
Fine-mesh Sieve | |
|
Heatproof Bowl | |
|
Airtight Container |
Note: Soda Lovers Unite (SLU) partners up with reputable brands to promote useful products. Some or all of the links above may be affiliate links that generate a small revenue for SLU when you buy through them. Thank you for supporting our efforts.

Welcome to Your Raspberry Syrup Adventure
Imagine turning ordinary moments into extraordinary experiences with one versatile ingredient.
This ruby-red creation does more than sweeten. It transforms everyday meals and beverages into something memorable.
A Delicious Twist on Homemade Syrup
Mixologists originally crafted this vibrant liquid for craft cocktails needing fruity depth.
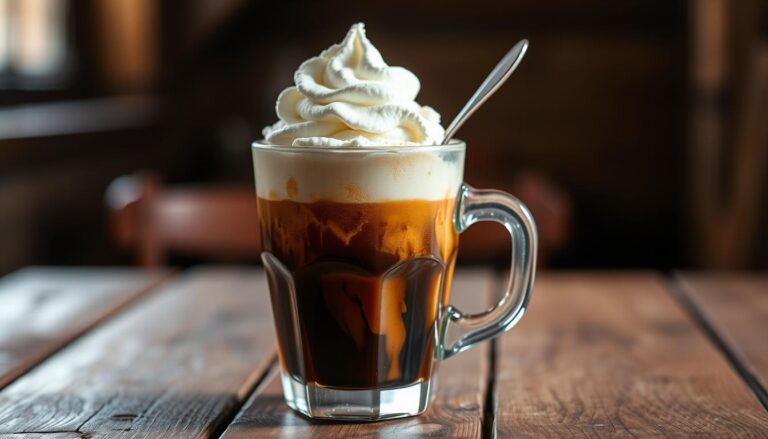
Today, it is drizzled over fluffy breakfast treats and also shaken into evening drinks.
The balance of tartness and sweetness makes it adaptable across sweet and savory dishes.
Think beyond basic toppings.
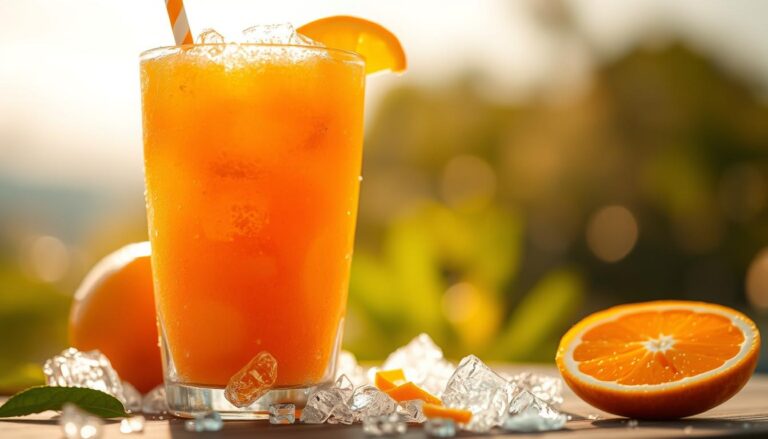
Swirl it into oatmeal, glaze roasted meats, or brighten lemonade.
Its thick consistency clings perfectly to desserts without overpowering delicate flavors.
Bartenders love it for adding natural berry notes to fizzy spritzers or martinis.
What sets this version apart? Homemade syrups allow you to control the ingredients, avoiding artificial additives common in commercial brands.
Fresh fruit gives it a brightness that frozen concentrates can’t match. Plus, it stores beautifully in the fridge for up to a month.
Whether hosting brunch or mixing weekend drinks, this syrup bridges gourmet and everyday cooking.
It’s your secret weapon for elevating simple ingredients into crowd-pleasing creations.
Essential Tools
Your kitchen arsenal holds everything needed for liquid berry magic.
Three simple components create the foundation, while basic equipment ensures smooth execution.
Let’s break down what makes this combination work so well.
Must-Have Kitchen Equipment
A medium saucepan with a heavy base prevents hot spots during simmering.
Pair it with a silicone spatula for gentle stirring that preserves fruit texture.
A fine mesh strainer catches seeds while letting rich color flow through.
Store your creation in glass jars or squeeze bottles for easy pouring.
No fancy gadgets required as this setup fits even in compact kitchens.
With these basics, you’re minutes away from velvety, jewel-toned deliciousness.

Perfecting the Flavor
Crafting exceptional flavor requires understanding nature’s chemistry.
When berries meet heat, their tartness softens while natural sugars emerge.
Your syrup’s magic lies in this transformation, sharp edges mellow without losing vibrant character.
The 1:1 ratio of fruit to sugar isn’t accidental.
This proportion creates harmony between zesty berry notes and caramelized sweetness.
Even frozen varieties shine here, as extended cooking evaporates excess moisture while concentrating essence.
Achieving the Ideal Berry Sweetness
Watch the mixture closely as it simmers. Heat breaks down cell walls, releasing crimson pigments and aromatic oils.
Sugar acts as both stabilizer and spotlight, enhancing rather than burying the fruit’s personality.
Perfect balance reveals itself through color and texture.
Undercooked syrup appears pinkish and thin, while properly reduced versions glow ruby-red. Dip a spoon. It should coat the back like liquid velvet.
Train your palate with this simple test: taste cooled syrup straight.
Bright acidity should dance with rounded sweetness, neither dominating.
Adjust future batches by tweaking simmer time, not sugar quantity, for consistent results.

Smart Ingredient Substitutions
Your homemade creation adapts beautifully to different tastes and dietary needs.
While the classic formula shines, clever swaps can personalize your results without compromising quality.
Exploring Alternate Sweeteners
Swap white sugar for honey or agave to introduce new flavors. These liquid sweeteners blend smoothly but may thin your mixture slightly.
Raw sugar works well for deeper caramel notes, though it might cloud cocktails.
Avoid brown varieties as their molasses taste overpowers delicate berry essence.
Adjusting Sugar Ratios for Richer Syrup
Double the sugar for thicker, luxe texture perfect for dessert drizzling.
This 2:1 ratio creates viscous richness that clings to pancakes and ice cream.
Balance the sweetness by using tart fresh frozen raspberries. S
tore adjustments in separate jars labeled by sweetener type for easy identification.
Remember: each substitution impacts flavor pairings.
Test small batches before committing to large quantities.
Your perfect blend awaits through thoughtful experimentation!
Next: How about making your own rich vanilla bean syrup?
FAQ
Can I use frozen berries instead of fresh ones?
Absolutely! Frozen berries work just as well. No need to thaw them first—simply adjust the simmer time by 1-2 minutes to account for extra moisture.
Do I need special tools to make this?
Not at all. A saucepan, spoon, and strainer are all you’ll need. A fine-mesh sieve or cheesecloth helps remove seeds for smoother results.
How long does homemade syrup last in the fridge?
Stored in an airtight container, it stays fresh for up to two weeks. For longer storage, freeze it in ice cube trays and thaw as needed.
Can I reduce the sugar without ruining the flavor?
You can adjust sweetness to taste, but keep in mind sugar acts as a preservative. For a lighter option, try honey or agave—just note the texture might change slightly.
What’s the best way to strain out the seeds?
Press the cooked mixture through a fine-mesh strainer using a spatula or spoon. For ultra-smooth syrup, line the strainer with cheesecloth before pressing.
Can I use this syrup in cocktails or other drinks?
Definitely! It adds vibrant flavor to lemonade, iced tea, or even mocktails. Drizzle it over pancakes, yogurt, or ice cream for a fruity boost.