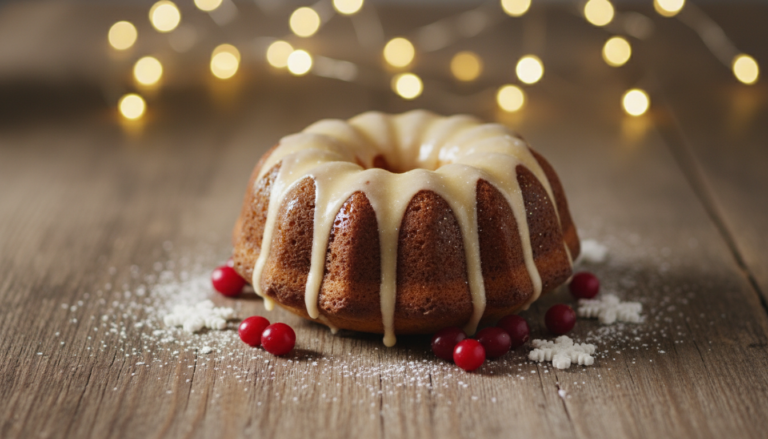
Cake Decorating Designs That Transform Simple Soda Cakes
This article is about achieving Spectacular simplicity! Take your soda cake to a whole new presentation level by applying effective decorating designs.
In the next few minutes you’ll learn how to turn that basic foundation into a masterpiece and you’ll realize you don’t need to be a professional baker to get amazing results.
The truth of the matter is that you can create something memorable, whether it’s for a birthday or a holiday party.
The process is fun, simple, and surprisingly effective. Get ready to explore a world of flavor and presentation possibilities.
Key Takeaways
- Transform a basic two-ingredient base into a celebration centerpiece.
- Achieve professional-looking results without advanced baking skills.
- Learn step-by-step techniques for stunning visual appeal.
- Discover innovative flavor pairings using a box mix and soda.
- Gather essential tips for a stress-free and enjoyable process.
- Create a moist and flavorful dessert that impresses any crowd.
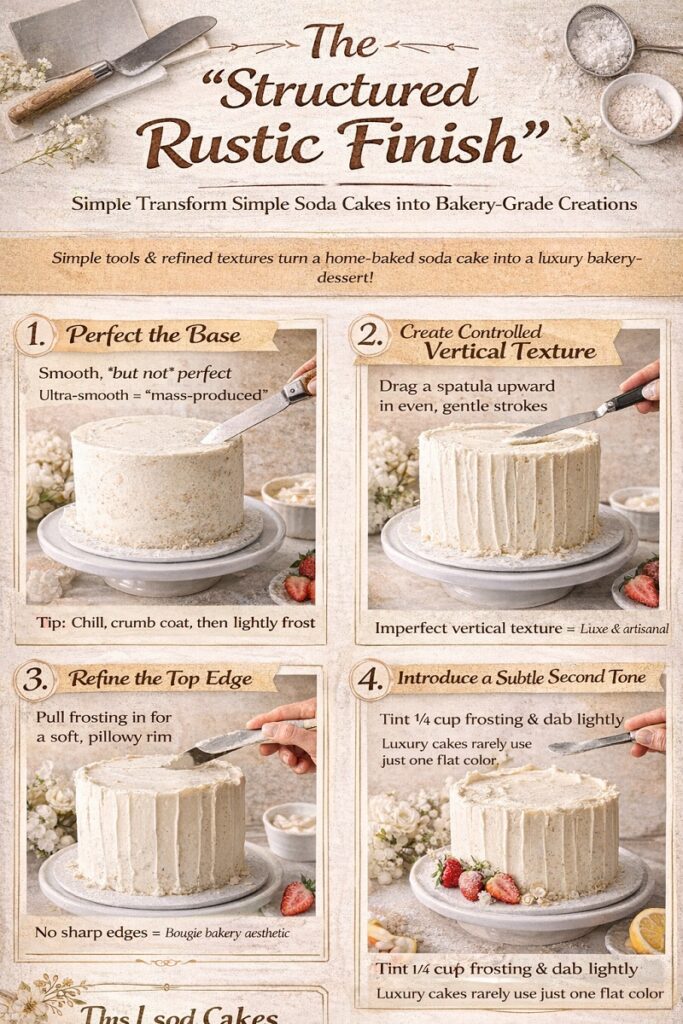
The “Structured Rustic Finish” Technique
This is a versatile, professional technique that home bakers can master once and use across any soda cake: sheet cakes, layer cakes, bundts, and pull-apart designs,
This design instantly elevates presentation to luxury bakery level, without specialty tools or advanced piping skills.
A Bakery-Grade Decorating Method for Soda Cakes
This technique combines three visual cues that make cakes look expensive rather than homemade. These are:
- controlled texture,
- restrained color, and
- intentional negative space.
What This Technique Achieves
- Hides minor imperfections common in soda cakes (soft crumb, tender edges)
- Creates dimension and depth without intricate piping
- Photographs beautifully for Pinterest and social media
- Works with buttercream, whipped frosting, or cream cheese frosting
Tools You’ll Need (Simple & Accessible)
- Large offset spatula
- Small offset spatula or butter knife
- Bench scraper or straight-edged ruler
- Parchment paper
- Clean kitchen towel
- Optional: sieve, tweezers (for garnish placement)
1: Perfect the Base (This Is Critical)
Rule: A smooth but not perfect base looks more luxurious than flawless fondant.
- Apply a thin crumb coat and chill the cake 20–30 minutes
- Apply a final coat of frosting, smoothing lightly
- Do not overwork—tiny imperfections create character
Bakery secret: Ultra-smooth frosting reads “mass-produced.” Gentle texture reads “artisanal.”
2: Create Controlled Vertical Texture
This is the heart of the technique.
- Hold a clean offset spatula vertically
- Starting at the bottom, drag upward in one continuous motion
- Lift away at the top—do not drag back down
- Repeat every 1–1½ inches, rotating the cake
Important:
- Vary pressure slightly
- Uneven spacing = intentional, organic elegance
This vertical movement elongates the cake visually and mimics high-end patisserie finishes.
3: Refine the Top Edge (The Luxury Detail)
Messy top edges are what separate home cakes from bakery cakes.
- Use a small spatula to pull frosting inward from the edge
- Rotate the cake slowly
- Keep the center slightly textured, not flat
This creates a soft, pillowy rim—a hallmark of boutique bakery cakes.
4: Introduce a Second Tone (Subtle Only)
Luxury cakes rarely use one flat color.
How to Do It at Home:
- Tint ¼ cup frosting one shade darker or lighter
- Dab sparingly with a spoon or spatula
- Gently blend using one or two strokes only
Examples:
- Vanilla cake → ivory + soft beige
- Lemon soda cake → pale yellow + cream
- Orange soda cake → pumpkin + apricot
Less blending = more sophistication.
5: Strategic Garnish Placement (Negative Space Matters)
Never decorate the entire cake. Expensive cakes breathe.
Choose ONE of the following:
- 3–5 fresh berries, brushed with simple syrup
- Edible flowers clustered on one side only
- Thin citrus slices, lightly dehydrated
- Gold leaf applied sparingly with tweezers
Place garnishes off-center for a modern, editorial look.
6: The Bakery Finish (Optional but Powerful)
Lightly dust ONE area with:
- Powdered sugar
- Freeze-dried fruit powder
- Cocoa powder (for cola or root beer cakes)
Use a sieve held high and stop early.
Why This Works (Chef Insight)
High-end bakeries rely on:
- Texture over symmetry
- Restraint over decoration
- Intentional imperfection
This technique leverages the naturally moist, tender crumb of soda cakes and turns it into a visual advantage.
Best Soda Cakes for This Technique
- Lemon–lime (7UP, Sprite)
- Cream soda
- Orange soda
- Root beer or cola (with chocolate elements)

Getting Started: Supplies and Basic Techniques
Before the creative fun starts, let’s assemble our core baking toolkit. Having everything on hand makes the process smooth and enjoyable.
Gathering Your Essential Supplies
You need just a few key items. Start with one box of your favorite cake mix. Pick a quality brand for the best flavor foundation.
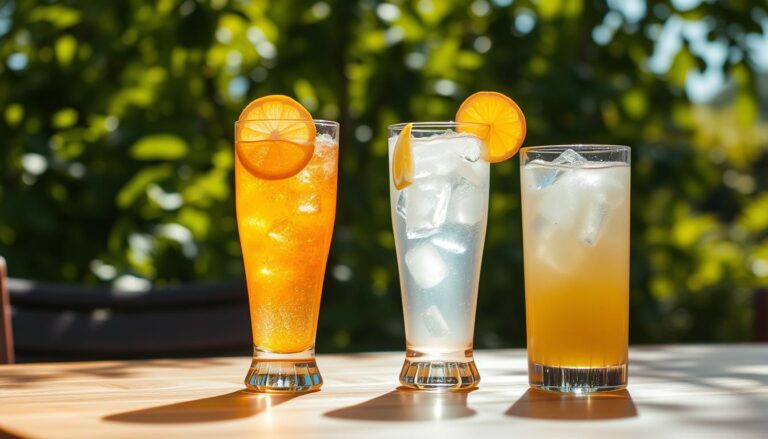
Next, grab a 12-ounce can of soda, beer, or sparkling water. This replaces eggs and oil. You’ll also need a large mixing bowl.
For baking, muffin tins with paper liners are ideal. The individual portions hold together perfectly. A 13×9 pan or round pans also work well.
Understanding the Basics of Soda Cakes
For many years, making soda cakes and decorating them has made it easier to create tasty desserts that look amazing.
The science behind why soda cakes work is simple. Carbonation in the soda makes the mix rise. It creates a wonderfully moist and tender result.
This method can produce a slightly more delicate texture. But the taste is fantastic. It’s a perfect base for your creations.
This approach is wonderfully simple. You don’t need fancy tools. Just your basic supplies and a willingness to experiment with different flavors.
These individual treats make a wonderful homemade gift. They are perfect for any celebration.
Decorating Designs for Soda Cakes: Step-by-Step Instructions
This stage is where your vision starts to take tangible form in the kitchen. Following these clear instructions will ensure your base is perfect for any creative finishing touches.
Mixing and Preparing Your Cake Batter
Your first step is to preheat your oven. Always check your specific box mix for the correct temperature. This prepares your oven for the batter.
Next, combine the entire box of mix with one 12-ounce can of soda in a large bowl. The batter will bubble quite a bit as the carbonation reacts. This is exactly what you want to see.
Beat the ingredients together for two full minutes. This ensures everything is well incorporated. Be careful not to over-mix, as this can change the final texture of your cake.
A great tip for adding fruits like frozen blueberries is to toss them with a tablespoon of dry mix first. This prevents color bleeding and keeps them from sinking.
Baking, Layering, and Assembling Your Soda Cake
For cupcakes, line a muffin tin and fill each cup halfway to two-thirds full. This usually makes about 24 treats. Distribute the batter evenly for consistent baking.
Bake your cupcakes for 20 to 22 minutes. Check if they are done by inserting a toothpick into the center. It should come out clean.
Related: Learn to make a Pull Apart Butterfly Cake using Cupcakes.
Larger cakes need more time. Follow the timing on your box mix. Remember, without eggs, the result can be a bit more delicate. Cupcakes often hold together better.
Let your creation cool completely before you start any work. This crucial step ensures your frosting stays put and your decorative elements adhere perfectly.
Related: Tortas Bonitas with a Twist: Beautiful Soda Cake Designs.
Innovative Ideas & Flavor Combinations
The magic of soda cakes lies in their incredible versatility for unique taste experiences. Once you master the basic technique, a world of creative possibilities opens up.
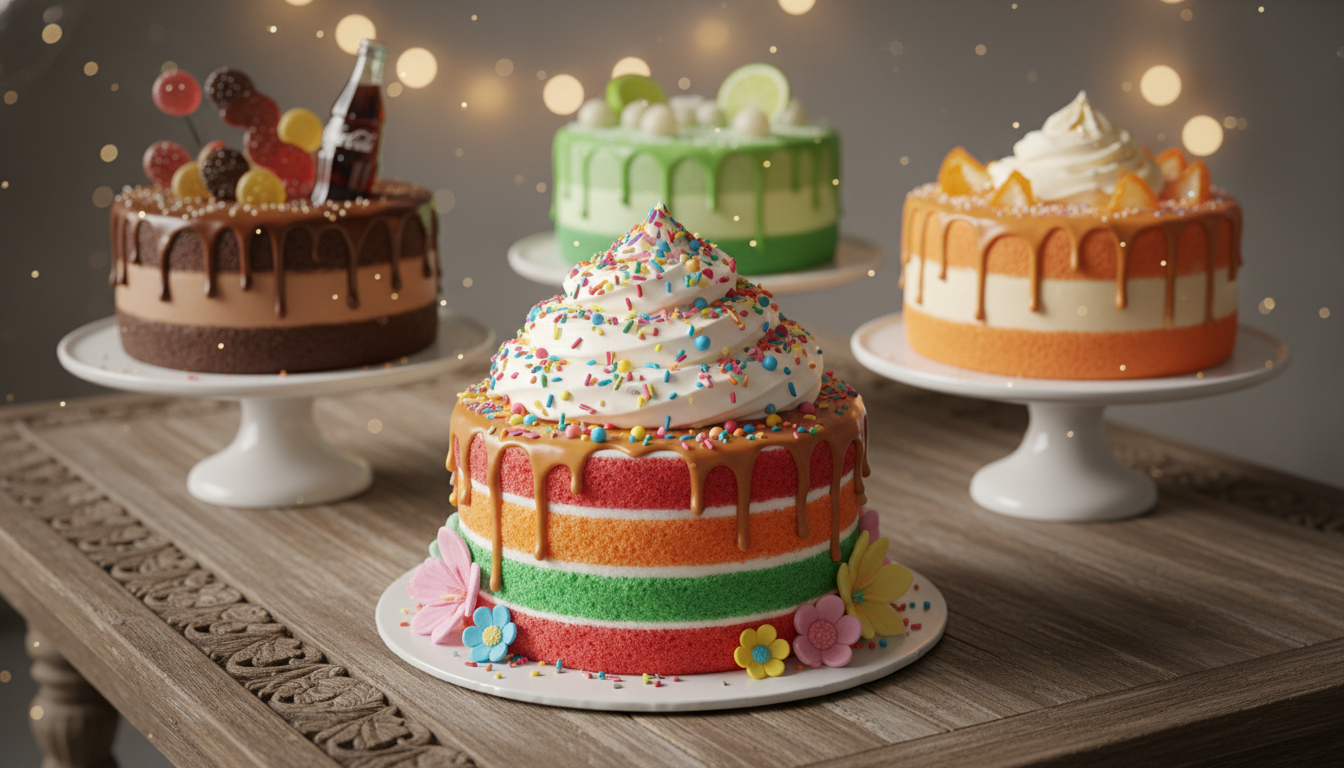
Exploring Unique Flavor Pairings
Mixing different cake bases with various sodas creates remarkable flavor profiles. The combinations are surprisingly sophisticated.
| Cake Mix Base | Soda Choice | Resulting Flavor | Best Occasion |
|---|---|---|---|
| Vanilla | Root Beer | Root Beer Float | Summer Parties |
| Chocolate | Root Beer | Brown Cow | Chocolate Lovers’ Events |
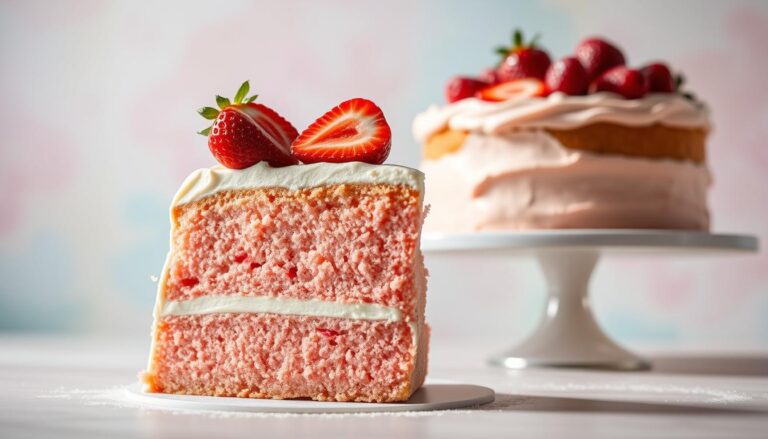
| Lemon | Lemon-Lime Soda | Lemonade Cake | Spring Celebrations |
| Spice | Ginger Ale | Ginger Spice | Holiday Gatherings |
| Vanilla | Orange Soda | Orange Creamsicle | Kids’ Birthday Parties |
Creative Decorating Tips for Special Occasions
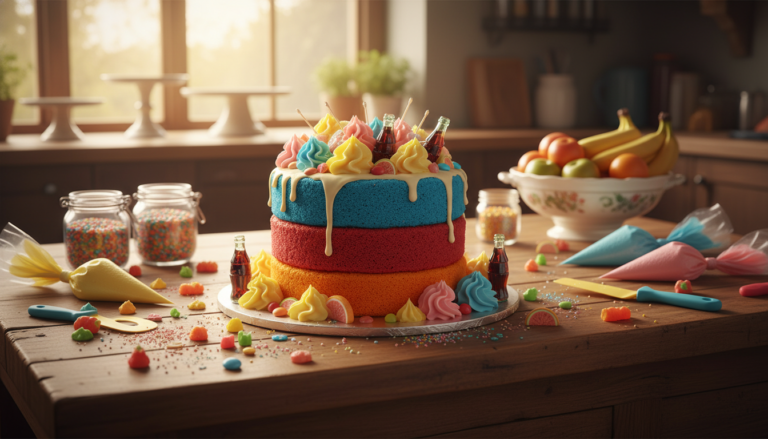
Presentation transforms your creation into a celebration centerpiece. Themed approaches make any event memorable.
For a child’s birthday, try space-themed cupcakes. Use blueberry-studded batter for a night-sky effect. Pipe swirling buttercream to resemble galaxies.
Create planet pops using gummy rings and lollipops. A piping bag tip helps enlarge the center holes for stability.
Related: Make a Galaxy Design Cake for a Birthday.
Secure layers with decorative ribbon on wrapped cardboard bases.
Remember that high-quality ingredients elevate results. Premium cake mixes and specialty sodas enhance both flavor and presentation.

Decorating like a Pro
You’ve now mastered an incredible baking shortcut that transforms simple ingredients into celebration-worthy desserts.
This approach proves that impressive results don’t require complex techniques or professional skills.
The step-by-step method gives you complete confidence to mix, bake, and create beautiful treats.
You can adapt this flexible recipe for any occasion or theme. Your creations will amaze friends and family.
Now it’s time to gather your supplies and start baking. Your next masterpiece awaits with this wonderfully simple soda cake recipe.