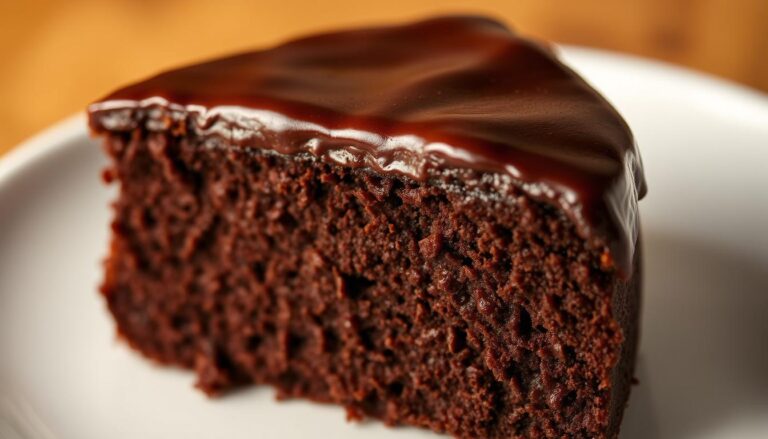
Chocolate Syrup Recipe for Floats and Milkshakes
Want to take your desserts and sweet drinks to a whole new level? Then you need to keep this homemade chocolate syrup recipe handy.
This syrup elevates milkshakes, floats, and desserts with pure cocoa flavor, no artificial aftertaste or cloying sweetness.
With just four basic ingredients, this tried-and-true formula has been perfected over a decade.
This chocolate syrup clings perfectly to cold treats without freezing solid, thanks to its balanced consistency.
Plus, it takes less than 10 minutes to make using tools already in your kitchen.
Thousands of home cooks have transformed ordinary cocoa powder into glossy, restaurant-quality syrup.
And now you’ll know how to do it too.
Are you ready tu rumble?
Of course, you are.
Let’s hit it.
Key Takeaways
- Crafting your own version beats store-bought options in flavor and quality.
- Requires only pantry staples like cocoa, sugar, and water.
- Perfect for drinks and desserts due to its smooth, pourable texture.
- Adjust sweetness and thickness to match personal preferences.
- Free from artificial preservatives common in commercial products.
- Works equally well in coffee, baked goods, and fruit dips.
Rich Chocolate Syrup Recipe
Here’s the recipe for Rich Chocolate Syrup, which is perfect for floats, milkshakes, or drizzling over desserts.
Ingredients (Yields ~1 ½ cups)
- Cocoa powder (unsweetened, sifted): ¾ cup (75 g)
- Granulated sugar: 1 cup (200 g)
- Water: 1 cup (240 ml)
- Vanilla extract: 1 teaspoon (5 ml)
- Fine sea salt: ⅛ teaspoon (a pinch)
Instructions
- Combine dry ingredients
- In a medium saucepan, whisk together the sifted cocoa powder, granulated sugar, and salt until evenly blended.
- Add water
- Slowly pour in the water while whisking to create a smooth, lump-free paste.
- Cook the syrup
- Place the saucepan over medium heat.
- Stir continuously until the mixture reaches a gentle boil.
- Once boiling, reduce heat to low and simmer for 3 minutes, whisking often.
- Tip: Do not overcook; this will thicken as it cools.
- Finish with vanilla
- Remove the pan from heat. Stir in the vanilla extract.
- Cool and store
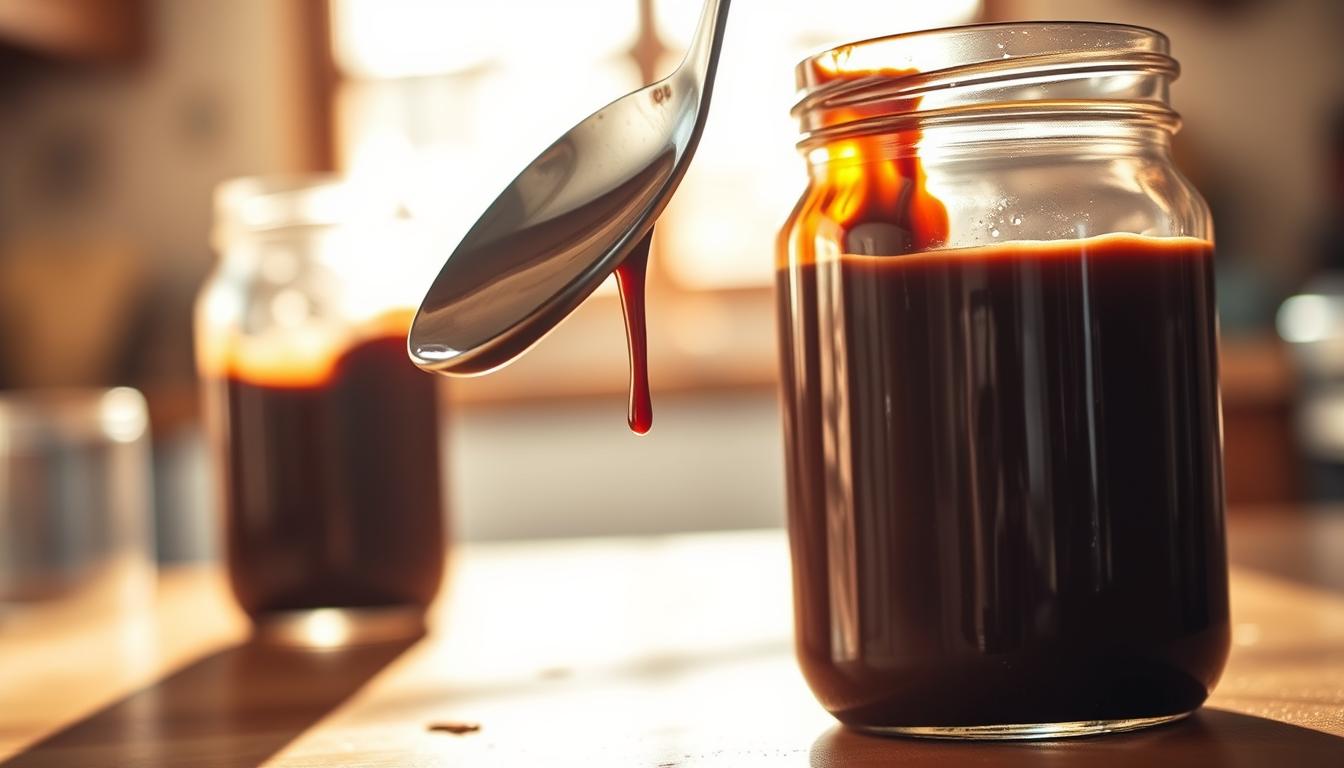
- Let the syrup cool to room temperature before transferring it to a clean glass jar or bottle.
- Store in the refrigerator for up to 3 weeks.
Usage suggestions
- For floats: Drizzle 2–3 tablespoons in the glass before adding ice cream and soda.
- For milkshakes: Blend 3 tablespoons per 12 oz shake for a rich chocolate flavor.
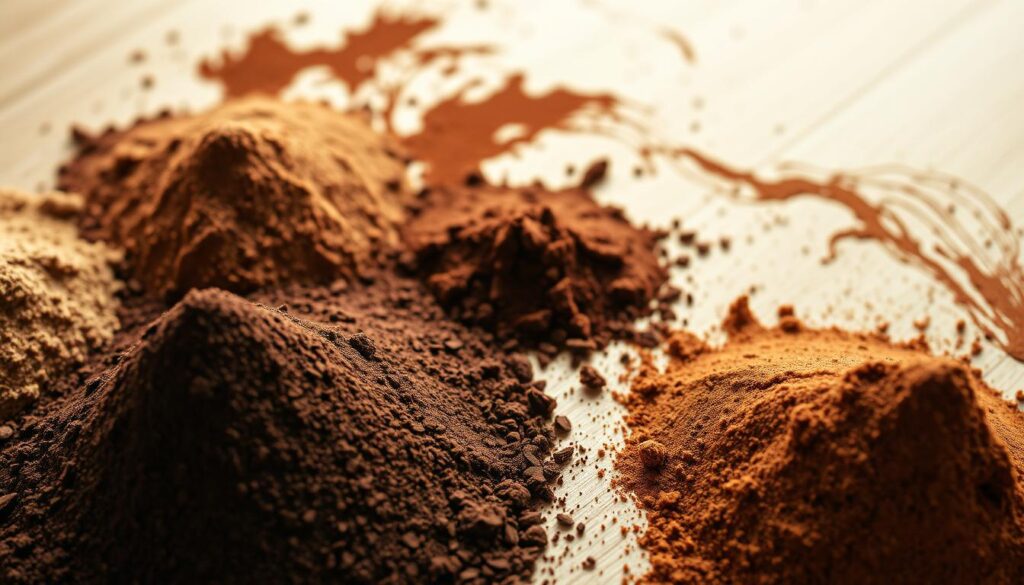
Introduction: The Joy of Homemade Chocolate Syrup
Remember those sticky summer afternoons when dessert meant more than just opening a bottle?
For generations, families have gathered around hand-cranked ice cream makers, pairing fresh vanilla scoops with silky-smooth drizzle made from scratch.
This tradition isn’t just about taste, it’s about connection.
From Ice Cream Socials to Modern Kitchens
Grandmothers knew something we’re rediscovering: real flavor comes from simple ingredients.
Their versions used pure cocoa, sugar, and water, no thickeners or synthetic additives.
Today’s homemade batches honor that legacy while letting you tweak the formula.
Want it darker? Add more cocoa. Prefer less sweet? Reduce the sugar.
Why Your Version Wins
Store shelves overflow with options containing high fructose corn syrup and stabilizers.
Compare labels, and you’ll often find corn-derived sweeteners dominating the list.
Your kitchen creation skips these entirely, using ingredients you can pronounce.
| Homemade | Store-Bought | |
|---|---|---|
| Key Sweetener | Granulated Sugar | High Fructose Corn Syrup |
| Cost per Batch | $0.75 | $3.50+ |
| Prep Time | 8 Minutes | N/A |
| Customizable | Yes | No |
Making your own syrups costs less than a dollar versus four times that for pre-made bottles.
You also gain control over texture. Thicken it for brownie glaze or keep it pourable for lattes. It’s not just better; it’s exactly what you need it to be.
Setting Up Your Kitchen for Success
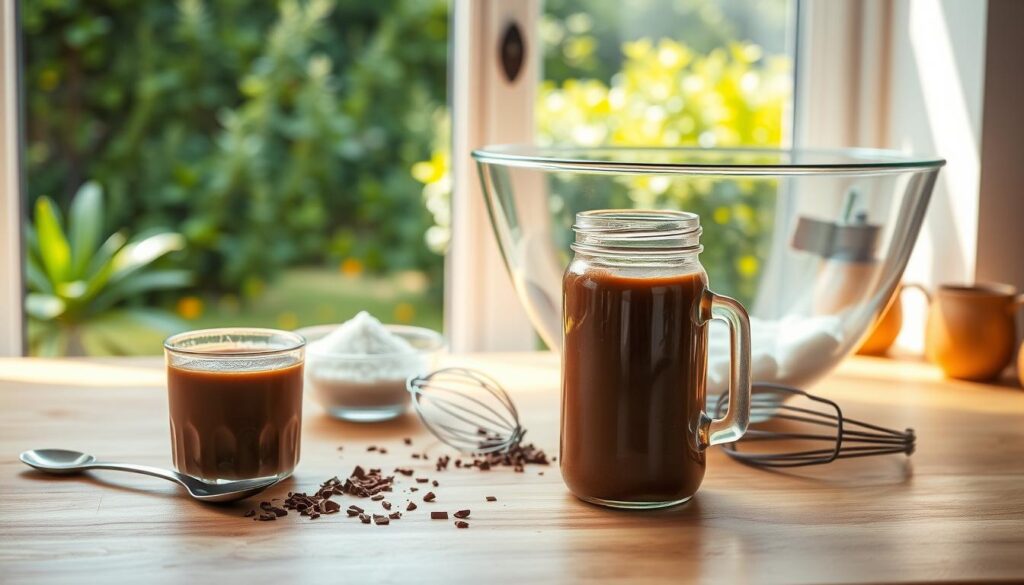
Great results start with the right tools.
While this project doesn’t require fancy gadgets, a few key items ensure your drizzle turns out flawless every time.
Let’s explore what you’ll need to create a silky-smooth blend that pours like liquid velvet.
Must-Have Tools and Equipment
Precision matters when working with simple ingredients.
A digital kitchen scale helps measure cocoa and sugar by weight for consistent flavor.
If you don’t own one, use dry measuring cups for powders and liquid cups for water. Never mix them up.
- Storage solutions: A 16-ounce wide-mouth mason jar keeps your creation fresh for weeks. Its broad opening lets you pour without spills, and glass prevents flavor absorption.
- Cooking essentials: Choose a 2-quart saucepan for even heating. Too small, and the mixture bubbles over; too large, and it scorches.
- Prep hacks: Sift older cocoa powder through a fine mesh strainer to remove lumps. Fresh batches might skip this step but benefit from it anyway.
With these basics, you’re ready to craft a glossy topping that outshines store versions.
The right container preserves freshness, while proper tools prevent kitchen mishaps.
Shop the Recipe
Here’s a list of products you might find handy when making your homemade chocolate syrup.
|
Digital Kitchen Scale | |
|
Dry measuring cups | |
|
Liquid measuring cups | |
|
16-ounce mason jar | |
|
2-quart saucepan | |
|
Fine-Mesh Strainer Set | |
|
Cocoa Powder (Unsweetened) | |
|
Vanilla Extract | |
|
Fine Sea Salt |
Note: Soda Lovers Unite (SLU) partners up with quality brands to offer useful products to our readers. Some or all of the above links may be affiliate links that generate a small income for SLU when you shop through them. We thank you for supporting our efforts.
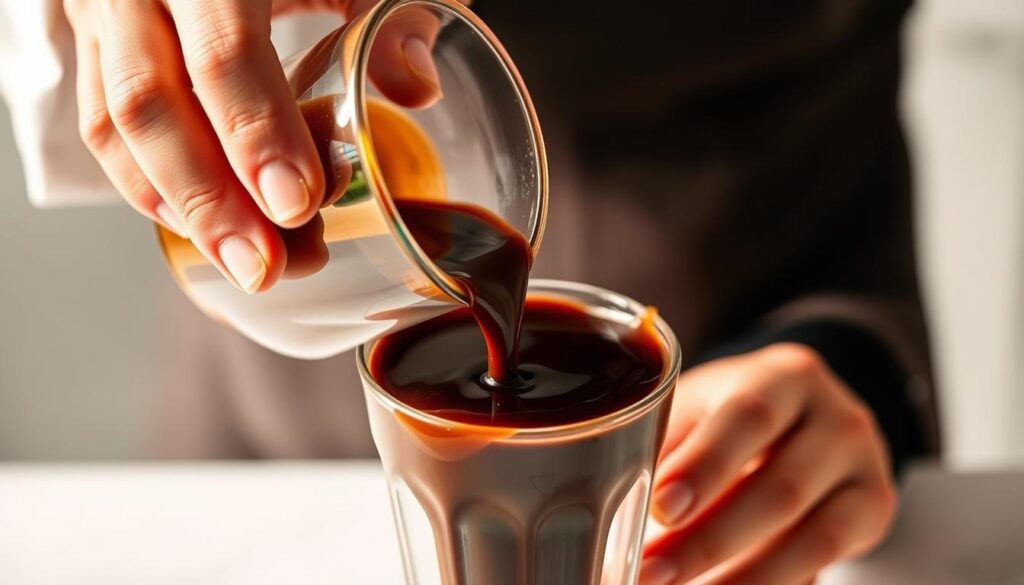
Mastering Texture and Consistency
Achieving the perfect drizzle requires more than mixing ingredients, it’s about controlling heat and timing.
Let’s explore how temperature management transforms runny mixtures into glossy toppings that cling to spoons without hardening.
Simmering Techniques for Perfection
Watch your stove like a hawk during these critical 3 minutes.
A gentle simmer means tiny bubbles appear at the pan’s edges without vigorous movement.
Exceeding this stage risks burning the cocoa powder, creating bitter notes.
| Heat Level | Appearance | Effect on Flavor | Texture Result |
|---|---|---|---|
| Gentle Simmer | Small edge bubbles | Rich & Balanced | Pourable |
| Rolling Boil | Rapid center bubbles | Burnt & Harsh | Gummy or Brittle |
Set a timer immediately after bubbles form.
Stir constantly with a silicone spatula to prevent scorching. If the mixture thickens too much during cooking, you’ve gone past the ideal window.
Cooling and Thickening Process
Don’t panic if your creation seems thin post-cooking. As it cools, the blend absorbs moisture from the air.
Transfer it to a glass jar and let it sit at room temperature for 15 minutes before refrigerating.
The fridge works magic overnight.
Cold temperatures help sugar bonds tighten, creating that signature drizzle-worthy consistency.
For quick thickening, place the jar in an ice bath while stirring gently.
Remember: Patience pays.
Rushing the cooling stage leads to uneven texture.
Wait at least 2 hours before testing thickness, you’ll be rewarded with shiny, velvety results that elevate every treat they touch.
Creative Uses for Your Chocolate Syrup
Your homemade creation isn’t just for desserts, it’s a flavor powerhouse waiting to transform everyday treats.
Let’s explore unexpected ways to drizzle, mix, and swirl this versatile topping into meals and snacks.
Morning Magic
Upgrade breakfast with a sweet twist.
Drizzle over fluffy pancakes or crispy waffles for a café-style meal.
Spread peanut butter on toast, then zigzag your creation across it, the salty-sweet combo rivals fancy pastries.
| Use | Quantity | Best Pairing |
|---|---|---|
| Chocolate Milk | 1 tbsp per 8 oz milk | Cold whole milk |
| Iced Coffee | 2 tsp per 12 oz brew | Oat milk & ice |
| Fruit Dip | ¼ cup mixed with yogurt | Strawberries |
Drink Enhancements
Stir into cold milk for classic chocolate milk, adjust from 1 to 3 tablespoons based on your sweet tooth.
Blend with iced coffee and milk for mocha lattes that beat café prices.
Hot cocoa becomes extra rich when made with your velvety mix instead of powder.
Sweet & Savory Combos
Drizzle over popcorn with sea salt for movie nights. Dip banana slices or pretzels for quick snacks.
For grown-up treats, add a splash to White Russian cocktails, the cocoa notes complement coffee liqueur perfectly.
Troubleshooting and Recipe Adjustments
Even the best kitchen creations sometimes need a little tweaking.
If your sauce doesn’t turn out quite right, don’t worry, most issues have simple fixes that take seconds.
Avoiding a Bitter or Burnt Flavor
Keep the heat medium-low to prevent scorching. Stir constantly once bubbles form at the pan’s edges.
Burnt notes often come from overcooking so set a timer for 3 minutes max during simmering.
Adjusting Sweetness and Consistency
Prefer it sweeter? Add up to ½ cup more sugar while cooking.
For a thinner texture, whisk in 1-2 tablespoons of water after cooling.
Too thick? Warm gently on the stove with a splash of milk.
Store your creation in an airtight jar for up to a month.
Shake before using if separation occurs.
Remember: Small tweaks let you tailor this versatile topping to any treat!
FAQ
Can I use dark cocoa powder instead of regular?
Absolutely! Dark varieties add a richer flavor. Adjust sugar slightly if you prefer less sweetness, as they have a deeper taste.
How do I prevent lumps while mixing?
Whisk continuously over low heat. Sifting your dry ingredients beforehand ensures a silky-smooth result every time.
Is there a substitute for corn syrup?
Honey or maple syrup work well. Keep in mind they may alter the flavor slightly and affect thickness when cooled.
Why does my mixture taste bitter?
Overheating can scorch the cocoa. Use medium-low heat and stir often. A pinch of salt also balances bitterness effectively.
How long does it stay fresh?
Store it in a sealed glass jar in the fridge for up to a month. Shake gently before reusing if separation occurs.
Can I make it thicker for toppings?
Simmer it longer to reduce. For a quick fix, mix a teaspoon of cornstarch with cold water and blend into the warm liquid.
What’s the best way to drizzle it on desserts?
Transfer cooled syrup to a squeeze bottle. For intricate designs, let it thicken slightly at room temperature first.
