Simple Birthday Cake Decorating Ideas
Want to create a stunning dessert without having to spend hours in the kitchen? Then this guide is for you as it present simple birthday cake decorating ideas you can apply today.
In the next minutes we will show you how to achieve incredible results with minimal effort.
You do not need fancy tools or years of experience. Using a soda cake as your foundation makes the process incredibly easy and fun.
This approach offers both convenience and a delicious, crowd-pleasing result.
We will walk you through a variety of creative techniques. These methods range from beginner-friendly to slightly more advanced.
You will find the perfect project for your skill level and make your next gathering unforgettable.
Key Takeaways
- Learn how to turn a basic soda cake into an impressive celebration centerpiece.
- Discover that professional-looking results are achievable without prior experience.
- Understand why soda cakes are an ideal and convenient base for creative projects.
- Explore a range of techniques suitable for all skill levels, from easy to more advanced.
- Gain the confidence to create beautiful designs with just a few basic tools.
- Master the process from selecting your base to applying the final decorative touches.
Understanding Soda Cakes for Creative Baking
The magic of soda cakes lies in their revolutionary two-ingredient formula. This approach streamlines the entire process, giving you a perfect canvas for your designs.
What Makes Soda Cakes Unique?
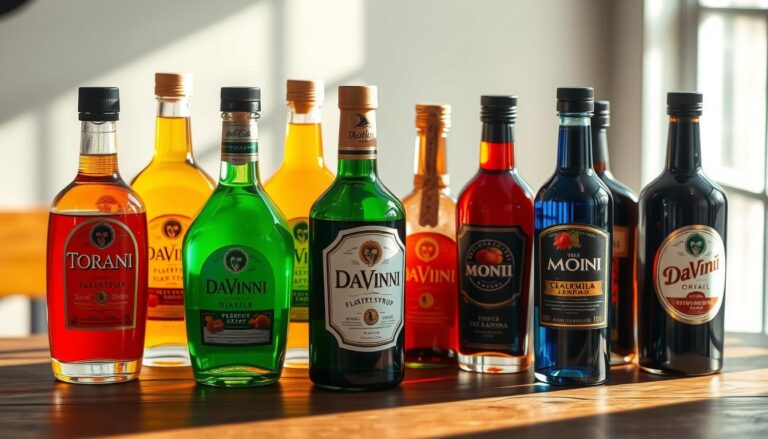
You combine a standard box mix with a 12-ounce can of soda. The carbonation is the key. It replaces eggs and oil, acting as the leavening agent.
This creates air bubbles for a light, tender crumb. The result is a moist and flavorful dessert that rivals more complex recipes.
Benefits for Quick Celebrations
This method is a huge time-saver. You can master this easy recipe in no time at all. It is perfect for busy schedules.
The versatility is incredible. Pair different mix and soda flavors for unique taste combinations. This forgiving recipe builds confidence for beginners.
You free up valuable time to focus on the artistic part. This way, you can create a personalized treat that wows your guests.
Gathering Your Essential Cake Decorating Supplies
The right collection of tools can elevate your dessert presentation from ordinary to extraordinary with minimal effort.
You don’t need a professional kitchen full of expensive equipment to create beautiful results.
Starting with a few key implements makes the process enjoyable and successful. Focus on quality basics rather than quantity.
Must-Have Tools and Equipment
An offset spatula is invaluable for spreading frosting smoothly across surfaces. This angled tool gives you better control than a straight utensil.
A sharp knife is essential for leveling layers and creating clean edges. Proper cutting tools ensure your foundation is perfect before decorating begins.
| Essential Tool | Primary Use | Budget Alternative |
|---|---|---|
| Offset Spatula | Smooth frosting application | Back of a spoon |
| Piping Tips | Creating decorative elements | Plastic bag with corner cut |
| Turntable | Easy cake rotation | Regular lazy susan |
| Parchment Paper | Pan lining and food safety | Wax paper |
Alternatives and Budget-Friendly Options
Many household items work wonderfully for decorating tasks. A plastic bag with the corner snipped off creates a functional piping bag.
The back of a regular spoon can create lovely rustic textures in your frosting. A basic lazy susan serves as an effective turntable for smooth rotation.
Start with these versatile options and expand your collection as your skills grow. The right tools make all the difference in your creative journey.
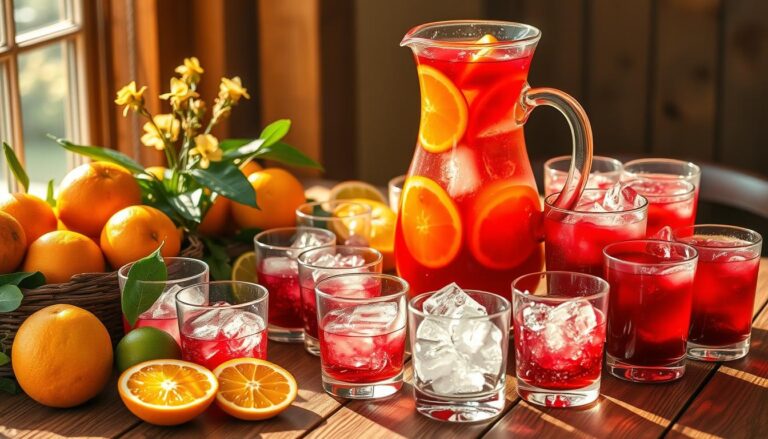
Selecting the Perfect Soda Cake Recipe
Personalizing your celebratory treat begins with selecting a soda cake recipe that reflects the honoree’s favorite flavors and personality.
This choice forms the delicious foundation for all your creative efforts.
Consider the guest of honor’s taste preferences when choosing your approach. Classic options like rich chocolate cake or zesty lemon cake often work beautifully.
A neutral vanilla base provides excellent versatility for various decorative themes.
Mix vs. Scratch-Made Techniques
You have two main paths for creating your dessert foundation. Box mixes offer incredible convenience and consistent results.
Simply combine the dry mix with your chosen soda for a quick batter.
For those preferring homemade quality, adapt your favorite scratch recipe. Substitute soda for some liquid ingredients to incorporate the same magical carbonation effect.
Both methods produce wonderful results.
Popular flavor combinations include:
- Chocolate cake mix with cherry cola or root beer
- Lemon cake mix with lemon-lime soda
- Vanilla or white cake mixes with cream soda or orange soda
Box mixes can be enhanced with simple additions like extra egg or melted butter. This creates a more homemade taste while maintaining the soda cake’s ease.
Experiment to discover your signature recipes for future celebrations.
Preparing Your Soda Cake for Decoration
The secret to flawless finishing work begins long before you pick up your first decorating tool.
Proper preparation ensures your creative efforts result in a polished final product that looks professionally made.
This stage transforms your baked creation from ordinary to extraordinary.
A well-prepared foundation makes every subsequent step smoother and more successful.
Proper Cooling and Leveling Tips
Patience during the cooling phase pays enormous dividends. Your creation must reach room temperature completely before any frosting application begins.
Apply frosting to a warm surface, and it will melt and slide right off. Plan for at least two hours of cooling time at room temperature.
If you’re short on time, refrigeration can accelerate the process. Just ensure the entire dessert reaches a consistent cool temperature throughout.
Leveling creates the flat surfaces needed for stable stacking and smooth finishing. Uneven layers result in a lopsided final appearance that’s difficult to frost properly.
Use a long serrated knife or specialized leveling tool to carefully trim the domed top. Work on a turntable at eye level for the most accurate cuts.
The scraps you remove don’t need to go to waste. Save them for making treats or enjoy them as a baker’s reward.
| Cooling Method | Time Required | Best For |
|---|---|---|
| Room Temperature | 2-3 hours | Best flavor development |
| Refrigeration | 1-1.5 hours | Time-sensitive projects |
| Freezer (brief) | 30-45 minutes | Emergency cooling only |
Taking time to properly prepare your foundation makes the entire decorating process more enjoyable. You’ll achieve professional-looking results with greater ease and confidence.
Simple Birthday Cake Decorating
You can achieve bakery-quality results with straightforward techniques anyone can master. Professional-looking finishes don’t require intricate skills or expensive equipment.
Beautiful party desserts are about smart approaches rather than complex methods. Sometimes the most effective techniques create the biggest visual impact.
You can transform your soda creation into an eye-catching centerpiece using various approaches. These methods work for all skill levels and celebration types.
Manageable techniques let you finish your project in reasonable time. This leaves you energized to enjoy the gathering rather than exhausted from hours of work.
| Technique | Skill Level | Time Required | Visual Impact |
|---|---|---|---|
| Fresh Fruit Topping | Beginner | 10-15 minutes | Colorful & Fresh |
| Chocolate Shavings | Beginner | 5-10 minutes | Elegant & Textured |
| Cookie Crumbles | Beginner | 5 minutes | Fun & Playful |
| Candy Arrangement | Intermediate | 15-20 minutes | Custom & Themed |
Confidence grows as you start with accessible methods and build skills gradually. These approaches work for children’s parties, adult gatherings, and special events.
The goal is creating a delicious dessert that looks impressive without stress. You’ll discover that stunning results are truly achievable for everyone.
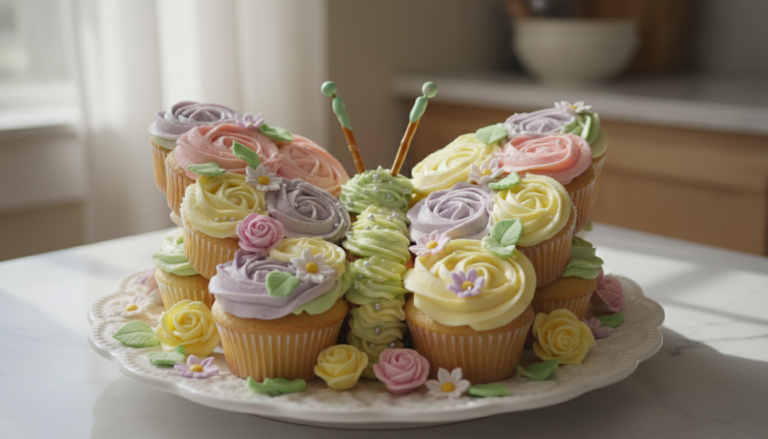
Related: Carve out a beautiful butterfly shape from a round cake.
Mastering Basic Frosting Techniques
The finishing touches on your dessert masterpiece begin with choosing the right coating for your creation.
Three fantastic options work beautifully with soda-based foundations. Each offers unique advantages for different looks and skill levels.
Buttercream, Ganache, and Confectioner’s Glaze
Buttercream frosting remains the most popular choice for good reason. It’s wonderfully versatile and holds shapes perfectly for piping designs.
You can easily tint it with food coloring to match any theme.
Chocolate ganache creates a luxurious, glossy finish that looks incredibly sophisticated. This rich coating involves melting chocolate and adding cream.
The result tastes absolutely decadent, especially with quality ingredients.
Confectioner’s glaze offers the simplest approach for a fancy appearance. Just mix powdered sugar with water, milk, or lemon juice until smooth.
This technique works perfectly for drizzling over bundt-style creations.
Achieving a Smooth Finish
The secret to professional-looking results lies in proper layering. Start with a thin crumb coat that seals in loose crumbs. Chill your project thoroughly before applying the final layer.
An offset spatula becomes your best friend for smooth surfaces. Hold it at a slight angle while rotating your dessert. Use long, sweeping motions for even coverage.
Chocolate ganache offers an almost foolproof method for flawless finishes. It naturally smooths itself as it sets.
This technique creates the perfect base for adding decorative elements.
Creative Piping and Texturing Ideas
Transform your dessert’s appearance with creative texturing methods that add professional flair.
These approaches can make your project look like it required expert skills when they’re actually quite accessible.
You’ll love how these methods elevate a basic frosted treat into something special. Both rosette piping and rustic swoops create beautiful results with minimal equipment.
Easy Rosette Piping Techniques
Rosette piping creates beautiful flower-like swirls across your surface. Use a large star tip like Wilton 1M or 2D for best results.
Hold your piping bag perpendicular to your dessert. Apply steady pressure while making a tight circular motion from center outward.
This technique works beautifully with buttercream frosting. You can cover the entire top or create an elegant border.
Rustic Swoops Using a Spoon
Rustic swoops offer an even easier alternative requiring no special piping tips. Use the back of a spoon or offset spatula to create artistic swirls.
Press gently into your buttercream and pull away to create casual textures. This method creates a charming “hand-crafted” appearance that’s perfect for relaxed gatherings.
The beauty of this approach lies in its imperfections. Slightly varied swoops actually enhance the homemade charm.
Experiment with different piping tips to create various patterns. You can achieve completely different looks using the same buttercream.
These techniques prove that impressive results don’t require precision. Sometimes relaxed, artistic approaches showcase your personal style best.

Incorporating Fresh and Faux Flowers
Nothing elevates a basic dessert quite like the natural beauty of carefully placed flowers.
These botanical touches create instant elegance that makes your creation look professionally designed.
You can achieve this sophisticated appearance with either fresh blooms or realistic artificial alternatives.
Safe Flower Selection and Preparation
Safety comes first when using fresh flowers. Some common varieties like baby’s breath are actually toxic despite their frequent use.
Always research your floral choices before placing them near food.
Roses, lavender, and pansies are safe, edible options popular for special occasions. These flowers create beautiful arrangements without health concerns.
Proper preparation ensures they’re ready for your project.
Thoroughly wash flowers in cold water to remove pesticides. Pat them completely dry before use. Trim stalks to about three inches for easier handling.
Never insert stems directly into your dessert. Place them inside regular straws or bubble tea straws first.
This creates a protective barrier between the plant material and your food.
DIY Flower Arrangements for a Fancy Look
Artificial flowers offer a worry-free alternative that won’t wilt during your event. You don’t need to research toxicity with faux blooms.
Still use the straw method rather than inserting stems directly.
Create fuller arrangements by grouping several stalks together with an elastic band. This technique gives your floral decoration more visual impact.
Place these bundles strategically around the base or on top.
Another safe method involves cutting small pieces of wax paper or parchment paper. Use these as barriers between flowers and your dessert surface.
This prevents any potential contamination while maintaining the beautiful appearance.
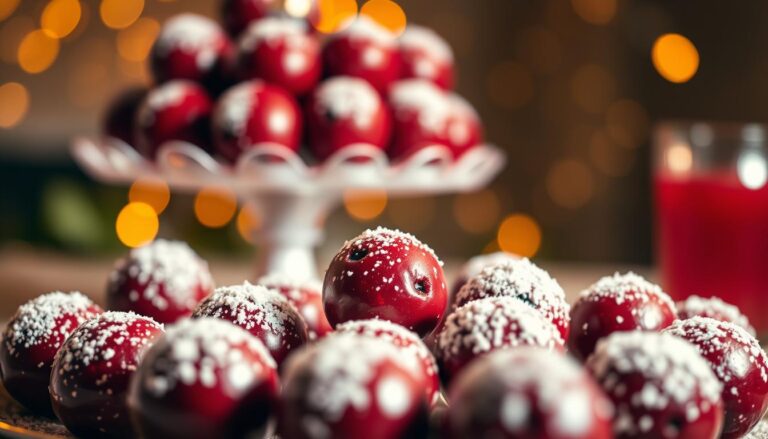
Using Candy, Cookies, and Crunchy Toppings
Candy and cookies aren’t just for eating. They’re your secret weapons for stunning cake decorations.
These edible accents create instant visual impact with minimal effort. You can achieve professional-looking results using store-bought treats.
Line the bottom or top edge with mini cookies, macarons, or chocolate candies. Ferrero Rocher and Reese’s cups work beautifully for elegant borders.
Remember that generous quantities create the best visual effect.
Enhancing with Sprinkles and Edible Glitter
Sprinkles add instant celebration vibes to any project. Apply them around the edges for a subtle touch or cover the entire surface.
Hold your creation over the sink during application to contain the mess.
Edible glitter elevates piped buttercream rosettes to glamorous heights. Metallic sprinkles create sparkling finishes that catch the light beautifully.
These small touches make your dessert look professionally designed.
The popular KitKat design involves standing bars around the perimeter. Fill the top with colorful M&Ms or Reese’s Pieces for a fun presentation.
Crushed cookies like Oreos add delicious crunch and visual interest.
Personalize your creation by chopping the guest of honor’s favorite chocolate bar. Scatter the pieces across the top for a thoughtful finishing touch.
These decorations show you put extra care into making something special.
Drip Effects for a Show-Stopping Cake
That elegant, glossy drip you see on professionally designed desserts is surprisingly achievable at home.
This technique instantly elevates your creation, adding a touch of sophistication that wows your guests.
The secret lies in a few simple but crucial steps. Mastering this method opens up a world of decorative possibilities for your projects.
Chocolate Drip vs. Caramel Drip
You have two fantastic options for creating a beautiful flow effect. A rich chocolate ganache is a classic choice that pairs wonderfully with many flavors.
Simply melt quality chocolate with a bit of cream to create a smooth, pourable consistency. This ganache will set beautifully on a chilled surface.
For a warm, golden alternative, consider a luxurious caramel drip. This option is perfect for vanilla or apple-flavored bases. Gently warm a thick caramel sauce until it flows easily.
The most critical step for success is chilling your frosted dessert thoroughly. A cold surface prevents the warm drip from melting your buttercream.
You can apply your mixture precisely using a squeeze bottle. A regular spoon also works well for a more rustic, freehand look.
For an ultra-quick solution, warm a can of premade frosting until it’s pourable. Pile candy on the top for a delightful combination of textures and flavors.
Remember, slight variations in your drips add charming, artisanal character.
Don’t strive for perfection, just embrace the unique beauty of your handmade treat.
Utilizing Cake Bases and Stands for Presentation
The final touch for your beautiful creation isn’t just the frosting or toppings—it’s how you present it.
A pretty stand or platter elevates your dessert, making it the true centerpiece of your celebration.
The right foundation can make a huge difference in the overall impression.
Always use a sturdy base for your project, even if you plan to display it on a decorative stand. Trying to cut a dessert while it’s perched on a stand is a recipe for disaster.
A proper base allows you to safely lift the entire creation off the stand for easy serving.
You can buy professional bases from craft stores. For a budget-friendly option, make your own from cardboard or foam poster board.
Cover it with food-safe wrapping paper for a polished look.
Consider the weight of your finished project. A heavy dessert might need a base made from several glued-together cardboard layers for extra strength.
This ensures your foundation won’t bend or collapse.
Choose an understated, elegant base that complements your design. A simple colored base looks far more professional than a shiny, foil-covered one.
This attention to detail shows you’ve thought of everything, from the bottom to the top.

Designing Layered and Stacked Cake Arrangements
Building your dessert vertically adds drama and elegance that transforms any gathering. These impressive structures create visual impact through careful construction techniques.
Proper preparation ensures your stacked creation remains stable throughout your event. Start with perfectly leveled individual layers for a solid foundation.
Tips for Stable and Beautiful Layers
Apply frosting or filling evenly between each layer, spreading to the edges. This binding agent adds flavor while preventing gaps in your structure.
For taller arrangements with multiple tiers, insert support systems vertically. Dowel rods or sturdy bubble tea straws provide crucial internal reinforcement.
Chilling between adding layers gives frosting time to firm up. This prevents sliding and makes the decorating process more manageable.
Creative stacking techniques like vertical layer cakes offer unique presentations. Stack slices on their sides to create whimsical tower effects.
For very tall or multi-tiered creations, a central post becomes necessary. This support system ensures your impressive structure survives the celebration intact.
Exploring Trendy Cake Decoration Inspirations
Current trends in dessert finishing combine artistic flair with accessible methods. These modern approaches let you create Instagram-worthy results without professional training.
You can achieve sophisticated looks using techniques that are easier than they appear. Many contemporary styles embrace either minimalist elegance or bold color play.
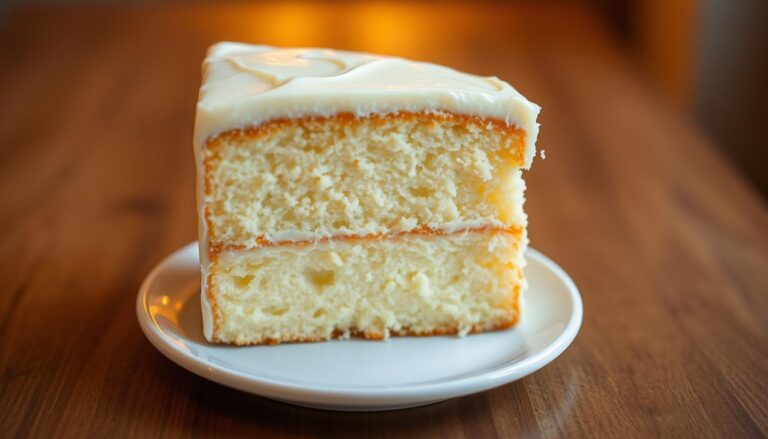
Naked Cakes and Ombré Frosting Ideas
Naked cakes showcase the beautiful layers inside with minimal exterior icing. This rustic approach highlights the natural beauty of your creation.
The exposed sides create an elegant, unfinished look that’s surprisingly chic. It’s perfect for those who prefer less sweetness in their desserts.
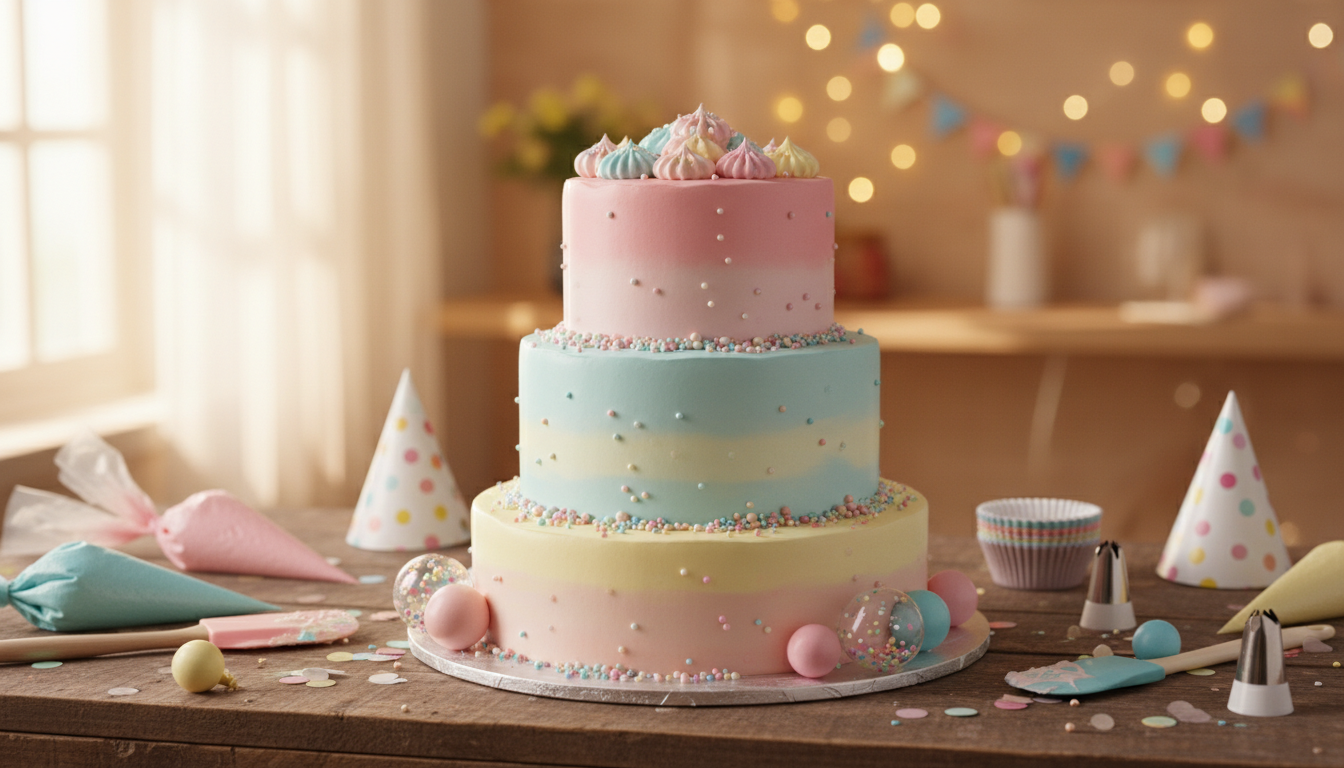
Ombré frosting creates a stunning color gradient that flows smoothly around your project. Divide your buttercream into three batches tinted different shades of the same color.
Pipe horizontal bands around the sides and blend with a spatula. The colors will merge beautifully with just a few gentle swipes.
Tone-on-tone decorating uses various shades within one color family. Try dusty pink, pale blue, or cream tones for a cohesive, modern appearance.
Rainbow swirls offer playful options perfect for festive occasions. Fill your piping bag with multiple colors to create vibrant, streaked designs.
Related: Stenciling on a Pound Cake for a minimalist decoration.
Seasonal and Themed Decoration Possibilities
Adapting your dessert’s appearance to match holidays and seasons creates a memorable centerpiece for any gathering.
You can transform your soda-based creation to reflect the time of year or specific celebration theme.
This approach ensures your treat perfectly complements the party atmosphere. It shows thoughtful consideration for the guest of honor’s interests.
Holiday, Birthday, and Special Occasion Tips
Seasonal soda cakes offer convenient decorating shortcuts throughout the year. Think of a pumpkin made of individual cupcakes for autumn gatherings.
Or desserts inspired on the infamous Grinch character for Christmas holidays.
For children’s parties, toy dinosaurs or construction vehicles create instant themed appeal. Custom cardstock toppers work beautifully for character-themed celebrations.
Milestone events call for sophisticated approaches. Elegant gold accents suit 50th anniversaries while pastel colors work for baby showers.
Don’t forget personal hobbies and interests as inspiration. Favorite sports teams, movies, or career achievements make wonderful decorative themes.
Seasonal colors and themed elements create cohesive party planning. Your dessert becomes an integrated part of the overall celebration experience.
Related: Make a fantastic Galaxy Cake to celebrate the birthday of your special space fan.
Troubleshooting Common Cake Decorating Challenges
When your frosting doesn’t cooperate or drips run wild, don’t panic—these common issues have simple solutions.
Every baker encounters challenges, but knowing how to fix them builds confidence.
If your icing seems too soft for piping, chill it for 15-20 minutes. You can also add powdered sugar gradually until it holds shape better.
The opposite problem—stiff buttercream—fixes easily with milk or cream added teaspoon by teaspoon.
Crumbs mixing into your frosting? Apply a thin crumb coat first. Chill your creation thoroughly before adding the final layer. This seals everything beautifully.
Drips running too far down the sides usually mean your dessert wasn’t cold enough. Chill it longer or thicken your drip mixture.
Another great tip: the KitKat method hides imperfect surfaces completely.
Prevent color bleeding from fruits by ensuring they’re completely dry before placing them. Level any domed tops with a serrated knife for stable stacking.
Remember that practice makes perfect.
Each project teaches you something new,so don’t get discouraged. Even professional bakers learn through trial and error.
The Path to Impressive Party Treats
The path to impressive party treats is now clear, showing that remarkable results are within everyone’s reach.
You’ve discovered that professional-looking desserts don’t require extensive training or expensive equipment.
Your soda foundation serves as the perfect starting point for endless creative possibilities.
Whether you prefer elegant floral arrangements or playful candy designs, these approaches adapt to your preferences and schedule.
Each project you undertake builds confidence and skill. Remember that practice leads to improvement, and the personal touch you add makes every creation special.
Now you’re equipped with knowledge to craft memorable centerpieces for any gathering. Embrace these techniques and start your next delicious masterpiece with enthusiasm.