Minimalist Cake Decor: Stenciling on a Fanta Pound Cake
Want to create a stunning dessert that looks like it came from a professional bakery, using a technique so simple it feels almost like magic?
This guide reveals how to transform a humble Fanta pound cake into a work of art. You will master the elegant method of stenciling.
This approach focuses on clean lines and understated beauty.
You don’t need expensive tools or years of practice. The process is surprisingly accessible. The unique citrus flavor and moist texture of your pound cake make the perfect canvas.
We will walk you through every step. You will learn to create desserts that are visually striking and delicious.
This style is perfect for any celebration, from small gatherings to big events.
Key Takeaways
- Learn a simple stenciling technique to create professional-looking results.
- Discover why this understated design approach is so popular for modern events.
- Use a Fanta pound cake as the ideal base for both flavor and visual appeal.
- Create beautiful desserts without needing specialized or expensive equipment.
- Master a method that emphasizes clean lines and timeless elegance.
- Combine great taste with a refined aesthetic in your finished creation.
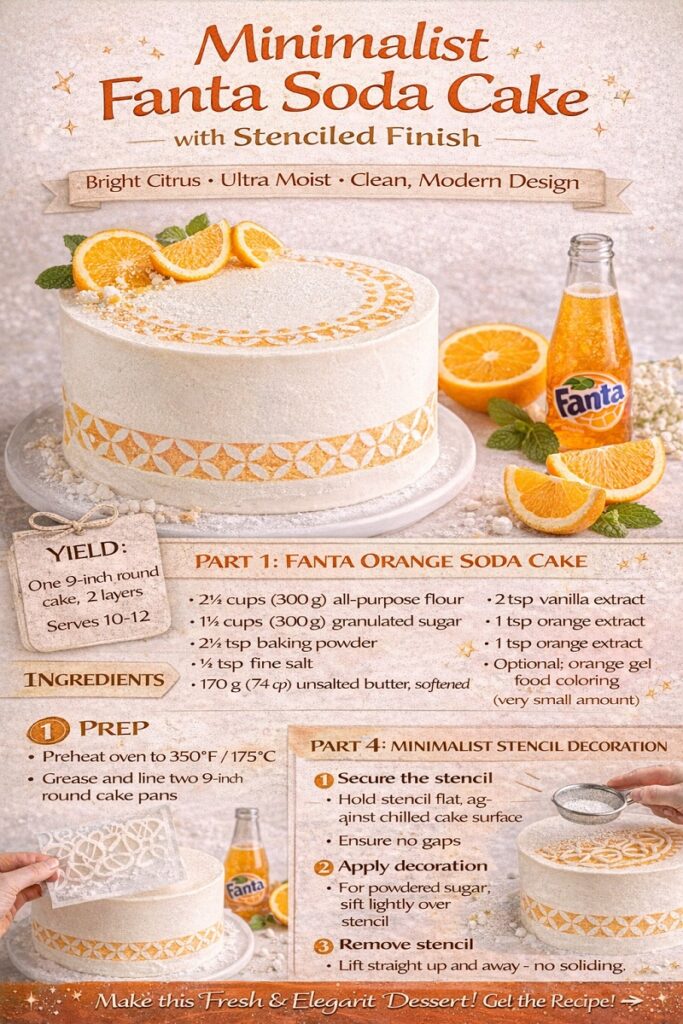
Minimalist Fanta Soda Cake with Stenciled Finish
Here is the recipe for making a Fanta Soda Cake, followed by clear, beginner-friendly instructions for minimalist stencil decoration.
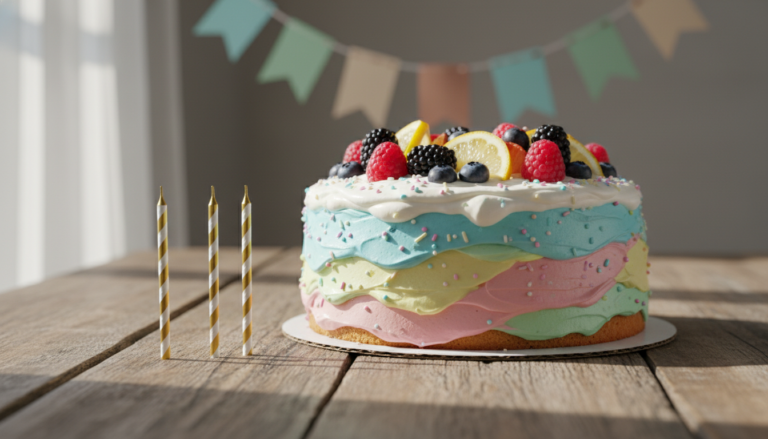
This soda cake is bright citrus and ultra moist.
This decoration style makes the cake look modern, intentional, and bakery-made. Perfect for birthdays, showers, or stylish dessert tables.
Yield: One 9-inch round cake, 2 layers
Serves: 10–12
Flavor Profile: Sweet orange citrus, soft vanilla, lightly tangy finish
FANTA ORANGE SODA CAKE
Ingredients
- 300 g (2½ cups) all-purpose flour
- 300 g (1½ cups) granulated sugar
- 2½ tsp baking powder
- ½ tsp fine salt
- 170 g (¾ cup) unsalted butter, softened
- 3 large eggs, room temperature
- 240 ml (1 cup) orange Fanta, room temperature and flat
- 120 ml (½ cup) whole milk, room temperature
- 2 tsp vanilla extract
- 1 tsp orange extract
- Optional: orange gel food coloring (very small amount)
Preparation
- Preheat oven to 175°C / 350°F
- Grease and line two 9-inch round cake pans with parchment
- Lightly flour pans
Method
- In a large bowl, whisk flour, sugar, baking powder, and salt.
- Add softened butter and mix on low speed until mixture resembles fine crumbs.
- Add eggs one at a time, mixing just until incorporated.
- In a separate bowl, whisk together Fanta, milk, vanilla, and orange extract.
- Add liquid mixture to dry ingredients in two additions, mixing until smooth.
- If desired, add a small amount of orange gel coloring.
- Divide batter evenly between pans.
Bake
- Bake 25–28 minutes, rotating halfway.
- Cakes are done when:
- Tops spring back lightly
- Toothpick inserted comes out clean
- Cool 10 minutes in pans, then cool completely on racks.
VANILLA BUTTERCREAM (STENCILING FRIENDLY)
Ingredients
- 340 g (1½ cups) unsalted butter, softened
- 600 g (5 cups) powdered sugar, sifted
- 2 tsp vanilla extract
- 2–3 tbsp milk or cream
- Pinch fine salt
Method
- Beat butter on medium speed for 3 minutes until pale and fluffy.
- Gradually add powdered sugar on low speed.
- Add vanilla, salt, and milk.
- Beat on medium-high 2 minutes until smooth and firm (not soft).
➡️ Frosting should hold shape cleanly for stenciling.
CAKE ASSEMBLY
- Level cake layers if needed.
- Place first layer on cake board.
- Spread ¾ cup frosting evenly.
- Add second layer.
- Apply a thin crumb coat.
- Chill 20–30 minutes.
- Apply final coat and smooth carefully.
- Chill again 30 minutes before stenciling.
MINIMALIST STENCIL DECORATION
Tools Needed
- Food-safe cake stencil (geometric, floral, or script)
- Offset spatula or small palette knife
- Powdered sugar or cocoa powder or colored buttercream
- Paper towels
Step-by-Step Stenciling
- Secure the stencil
- Hold stencil flat against chilled cake surface
- Ensure no gaps
- Apply decoration
- For powdered sugar: sift lightly over stencil
- For buttercream: spread thinly with palette knife
- Remove stencil
- Lift straight up and away—no sliding
- Clean edges
- Use a small brush or toothpick if needed
Minimalist Design Ideas
- Centered monogram
- Thin geometric pattern around the sides
- Single word (“Celebrate”, “Cheers”)
- Repeating dots or lines near the top edge
✨ Less coverage = more elegance.
STORAGE & SERVING
- Refrigerate up to 3 days
- Bring to room temperature 45 minutes before serving
- Best stencil definition within first 24 hours
CHEF’S NOTES
- Flat soda ensures even crumb and structure
- Firm frosting is essential for crisp stencil edges
- White or pale frosting enhances contrast and readability
- Minimalist designs photograph beautifully for Pinterest
Introduction to the Art of Minimalist Cake Decor
Modern dessert aesthetics celebrate clean lines and thoughtful composition rather than elaborate adornments.
This approach lets the quality of your ingredients and baking skills shine through.
Understanding the Minimalist Aesthetic
This design philosophy focuses on intentional simplicity. Every element serves a purpose and contributes to the overall harmony.
You create visual interest through strategic placement rather than overwhelming decoration. The result feels sophisticated and contemporary.
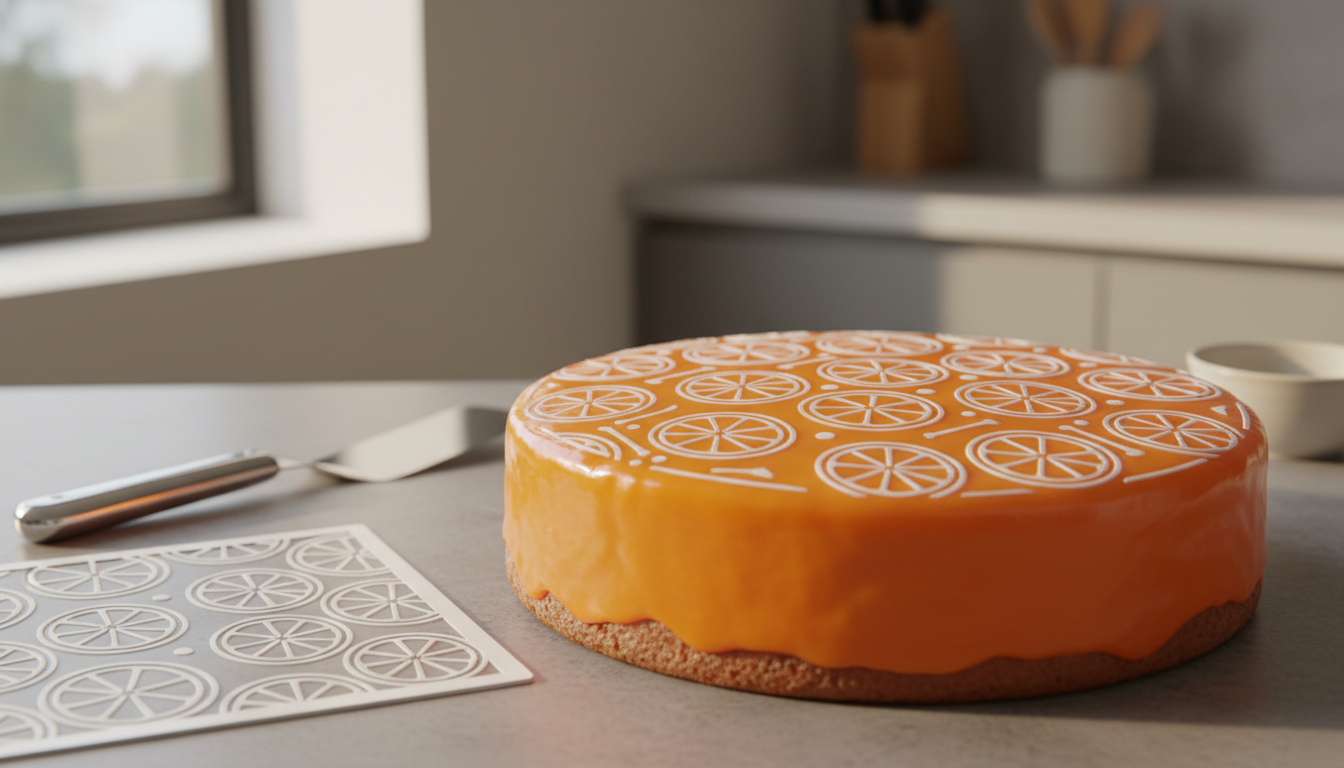
Overview of Stenciling on a Fanta Pound Cake
Stenciling offers a perfect technique for achieving this elegant look. It adds pattern and texture without heavy frosting layers.
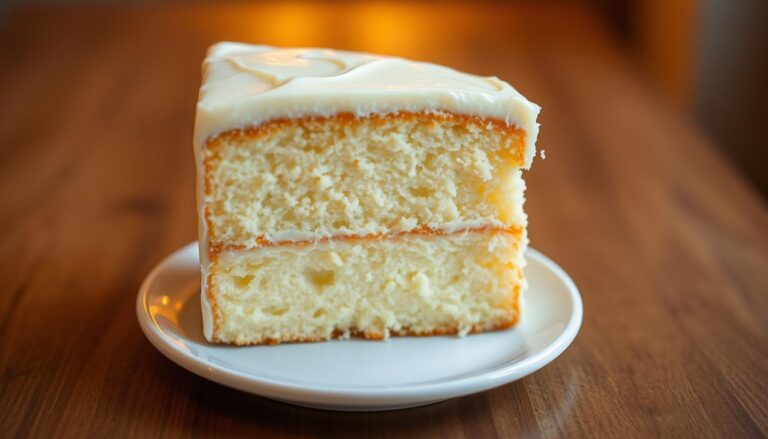
The citrus-infused Fanta pound cake provides an ideal foundation. Its moist texture and subtle flavor complement delicate designs beautifully.
| Feature | Traditional Approach | Minimalist Approach |
|---|---|---|
| Decoration Style | Elaborate, detailed piping | Clean, strategic patterns |
| Frosting Amount | Heavy layers | Thin, smooth coating |
| Visual Focus | Ornamental elements | Form and texture |
| Time Investment | Extended decorating time | Efficient process |
This method allows you to create stunning results with confidence. The combination of simple techniques and quality ingredients produces professional-looking desserts.
Benefits of a Minimalist Approach for Your Cake Design
Creating and decorating soda cakes is all about simplicity.
Adopting a simple design philosophy for your baked creations offers distinct advantages that go beyond mere appearance. This method highlights what truly matters in a great dessert.
Clean Look and Emphasis on Cake Quality
Choosing this style means you put the flavor and texture of your Fanta pound cake first. There are no heavy decorations to hide behind.
Every detail is intentional. This lets the moist crumb and citrus notes of your creation shine. Your guests will taste the quality immediately.
This deliberate choice results in a dessert that is as delicious as it is beautiful. The focus on craftsmanship is clear for everyone to see.
Versatility for Various Occasions
One of the best features of this design is its amazing flexibility. A single stenciling technique can be adapted for any event.
It works perfectly for a rustic wedding or a chic birthday party. The aesthetic complements both casual and formal settings with ease.
You can create a whole variety of stunning cakes throughout the year. This approach saves you time while ensuring a timeless result for every occasion.
Gathering Your Essential Supplies and Ingredients
Before you dive into the artistic process, ensure your workspace is stocked with essential stenciling supplies.
Having everything organized makes the experience more enjoyable and efficient.
Tools You’ll Need for Stenciling
Your tool collection should include food-safe stencils in various shapes. Geometric patterns and simple lines work beautifully for clean designs.
You’ll need spatulas for smoothing your base layer. Consider both offset and straight varieties for different tasks. A turntable makes rotating your dessert effortless while you work.
Choose between buttercream icing or fondant for your canvas. Buttercream offers a soft finish, while fondant creates sharp patterns.
Have edible dusting powders ready for contrast effects.
Recommended Ingredients for a Perfect Base
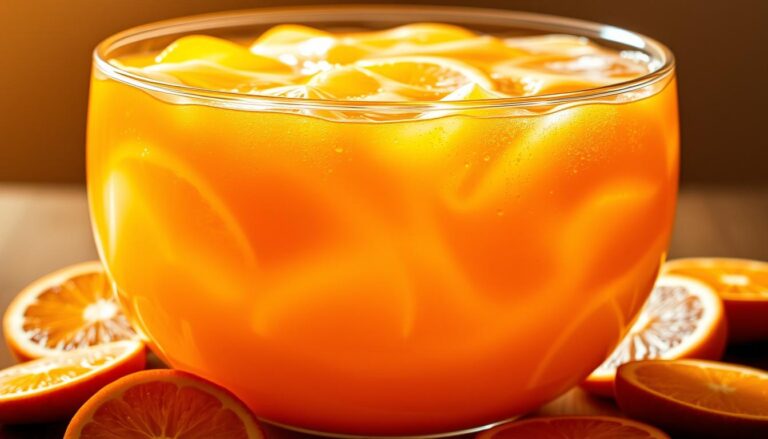
Quality ingredients ensure your foundation tastes as good as it looks. Use fresh Fanta orange soda for moisture and subtle citrus flavor.
Butter, sugar, eggs, flour, and vanilla extract create the perfect pound cake texture. Consider having multiple buttercream options available for different layers.
Your ingredient choices directly impact the final result. Premium components contribute to both flavor and visual appeal.

Preparing Your Fanta Pound Cake for Decoration
Achieving a flawless finish on your creation starts long before you pick up a stencil.
The quality of your base determines how crisp and professional your final design will appear. Careful preparation ensures your artistic efforts yield beautiful results.
Tips for Baking a Moist and Even Cake
Start with ingredients at room temperature. This helps them combine smoothly for a consistent batter. Be careful not to overmix once the flour is added.
Pour the batter into a properly prepared pan. Greasing and flouring or using parchment paper prevents sticking. Bake at the correct temperature for an even rise without a dome.
Adding the Fanta soda at the right time is key. It tenderizes the crumb, giving you a moist texture perfect for decorating.
This is the best way to build a strong foundation for your design.
Proper Cooling and Surface Preparation
Allow adequate time for your dessert to cool completely. A warm base will cause frosting to melt and slide. Patience here is crucial for stability.
Once cool, level the top with a serrated knife. A flat surface is used to make your minimalist cake look polished. Brush away any loose crumbs carefully.
Apply a thin crumb coat of frosting. This initial layer seals in crumbs. Chill it briefly before adding the final smooth coat. This preparation makes the stenciling process much easier.
Step-by-Step Guide to Stenciling on Your Cake
This is where your artistic vision comes to life through the precise application of stencil patterns.
The process requires patience and careful execution, but the results are worth every moment of attention.
Setting Up Your Workspace
Begin by organizing your area with all tools within easy reach. Place your frosted creation on a turntable for smooth rotation during the decorating process.
Ensure your stencils are clean and dry before starting. Having everything prepared this way prevents interruptions and maintains your creative flow.
Applying the Stencil and Icing
Position your chosen pattern gently against the smooth surface. Hold it firmly but without pressure to prevent shifting during application.
For powder applications, tap lightly over the openings to build color gradually. This technique is used to make subtle, elegant designs that complement your minimalist cake aesthetic.
Consider creative ideas like rotating patterns or using partial designs. These approaches maintain visual interest while keeping the overall look clean and sophisticated.
Lift the stencil straight upward without dragging to preserve crisp lines. Your finished minimalist cake will showcase professional-quality detailing.
Creative Design Considerations and Pattern Choices
The patterns you select for your stenciled creation are the heart of its visual story.
This stage is all about making intentional decisions that align with a clean aesthetic. Your choices will define the final character of your dessert.
Thoughtful planning ensures every element contributes to a harmonious whole. This approach celebrates subtlety and sophistication.
Balancing Simplicity with Visual Impact
Your goal is to find patterns that are noticeable yet restrained. Geometric shapes like lines or hexagons offer a modern feel. Delicate botanical stencils provide a softer, organic touch.
The idea is to create intentional negative space. Leaving some areas of your Fanta pound cake bare makes the decorated sections pop.
This balance is key to effective minimalist cake designs.
- Strategic Placement: Consider applying your pattern to just one section, like cascading down the side. This is often more dynamic than covering the entire surface.
- Shape Enhancement: Vertical designs can make a round dessert appear taller. Horizontal patterns can emphasize its width and stability.
Choosing Colors That Enhance Minimalism
Color choice plays a crucial role in maintaining an elegant look. Monochromatic schemes and neutral tones are highly effective. Think shades of white, cream, grey, or soft pastels.
The key is subtle contrast. Your stencil color should be visible against the base icing without being loud.
For example, use white powder on pale grey fondant or cocoa on ivory buttercream.
Resist the urge to add multiple colors or patterns. Restraint is the beauty of this design philosophy. A single, well-executed idea creates the most impact for your minimalist cake.

Minimalist Cake Decor: Techniques and Tips
The foundation of any great stenciled design lies in the flawless surface you create before applying patterns.
Your choice between buttercream and fondant will shape your entire decorating approach.
How to Achieve a Smooth Finish with Buttercream or Fondant
For buttercream frosting, start with a thin crumb coat. Chill your creation briefly before adding the final layer.
Use an offset spatula and bench scraper on a turntable. Work with frosting at the right consistency for best results.
Long, continuous strokes create the smooth surface needed for sharp stencil patterns. This technique prevents unwanted texture.
Fondant offers an ultra-smooth matte finish ideal for detailed work. Roll it evenly to about 1/8 inch thickness.
Carefully drape the fondant over your dessert. Smooth from the top down using fondant smoothers to eliminate air bubbles.
Subtle Accents: Edible Pearls and Metallic Touches
Once your base is perfect, consider subtle enhancements. Edible pearls placed at pattern intersections add sophistication.
Metallic touches like gold leaf introduce luxury without overwhelming your design. Use these elements sparingly as focal points.
Your decoration choices should enhance the overall form rather than compete with it. Every element should serve a clear purpose in the final presentation.
Incorporating Alternative Decorating Ideas from Trendy Sources
Sometimes the most stunning decorations come directly from nature’s own palette.
While stenciling creates beautiful patterns, you can enhance your creation with complementary natural touches.
These organic elements maintain a clean aesthetic while adding fresh beauty. They provide wonderful alternatives to traditional frosting techniques.
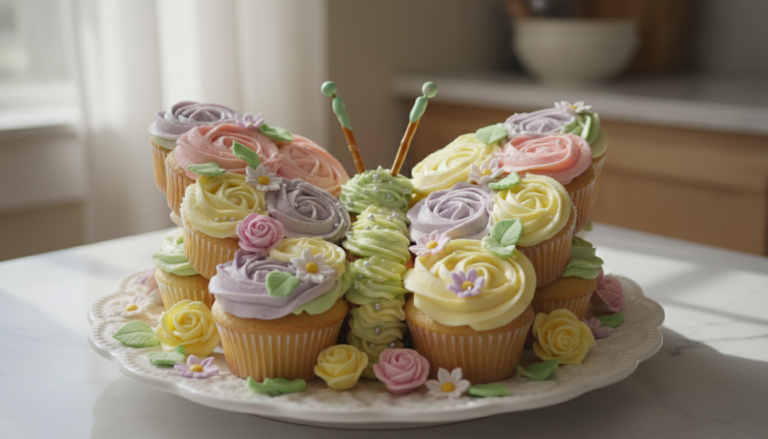
Related: Learn to make a pull-apart butterfly with cupcakes.
Mixing In Edible Flowers and Fresh Fruits
Edible flowers bring delicate color and texture to your desserts. Choose safe varieties like roses, lavender, and pansies that haven’t been exposed to pesticides.
Always wash flowers in cold water and pat them completely dry. Cut stalks to about three inches and insert them into plastic straws placed in your creation.
Fresh fruits offer tremendous visual and flavor appeal. Berries like raspberries and blueberries provide pops of color that complement stenciled designs.
You can elevate fruit decorations with edible gold or silver spray. This creates subtle shimmer while maintaining sophistication.
The variety of natural options lets you customize for different seasons. Remember to maintain balance – a small cluster often works better than covering the entire surface.
Practical Advice for Beginners and Time-Saving Methods
Even beginners can achieve professional-looking results with these time-saving approaches to dessert decoration. You don’t need extensive experience to create something beautiful.
Many simple projects can be completed in under 30 minutes. This makes them perfect for your first attempt at fancy dessert creation.
Related: Take a look at these simple soda cakes inspired on The Grinch character.
Quick Fixes for Common Decorating Errors
Mistakes happen to everyone, especially when you’re learning. The good news is that most errors have simple solutions.
If stencil powder smudges, gently dab it with a barely damp paper towel. You can also cover small imperfections with edible pearls or flowers.
Uneven frosting can become part of a rustic charm. Embrace slight imperfections as handmade character rather than flaws.
For kids’ birthday celebrations, focus on one special cake topper that reflects their interests. This approach saves time while creating personalized results.
Consider stenciling only the top surface instead of the sides. This reduces complexity while maintaining visual impact.
Using pre-made stencils with fun shapes works well for children’s parties. Limit your color palette to one or two options for quick, effective decoration.
The best birthday dessert ideas combine simplicity with personal touches. Your clean design can feature favorite colors or meaningful symbols.
These techniques require less time than elaborate piping methods. You get impressive results without spending hours on the creative process.
Final Touches: Enhancing Aesthetic Appeal
The last stage of your creation process requires thoughtful restraint. This is where you elevate your dessert from beautiful to breathtaking through carefully chosen accents.
Your goal is to complement the stencil work without competing with it. Each addition should feel intentional and harmonious with the overall composition.
Adding Nuanced Details Without Overwhelming the Design
Strategic placement makes all the difference in final enhancements. Consider where your eye naturally travels across the surface.
Place a single sugar flower where stencil patterns meet. Add a small cluster of edible pearls along one clean edge. These subtle touches create focal points without clutter.
Metallic accents can add dimension when used sparingly. Lightly brush edible gold dust on raised pattern areas. This catches light beautifully while maintaining sophistication.
| Enhancement Type | Placement Strategy | Visual Effect | Practical Example |
|---|---|---|---|
| Edible Pearls | Along pattern intersections | Adds texture and refinement | Three pearls at hexagon corners |
| Metallic Dust | On raised stencil elements | Creates light reflection | Gold highlight on geometric shapes |
| Sugar Flowers | Single placement off-center | Provides organic contrast | One blossom near cake top edge |
| Geometric Toppers | Centered alignment | Reinforms pattern theme | Acrylic triangle matching stencil |
Step back frequently to assess your progress. View your creation from all angles to ensure balance. The form should remain the clear focus throughout.
Knowing when to stop is the true art of this approach. Once you’ve added one or two thoughtful elements, resist further decoration. Your finished piece will tell a cohesive visual story.
Presentation and Serving Suggestions for Your Minimalist Cake
Your beautifully crafted dessert deserves a presentation that highlights its elegant simplicity.
The right display choices can transform your creation into a stunning centerpiece for any event.
Thoughtful serving arrangements complement your artistic work while making guests feel special.
These finishing touches complete the experience you’ve carefully built from baking to decoration.
Tips for a Stunning Display
Choose a cake stand or platter that enhances rather than overwhelms your design. Simple shapes in neutral tones or clear glass work beautifully.
Position your dessert against a clean, uncluttered background with adequate lighting. This showcases the delicate stencil patterns and smooth finish.
Consider the specific occasion when arranging your display. The same design adapts beautifully from intimate birthdays to formal weddings with simple styling changes.
Ideas for Pairing with Complementary Desserts
Create a cohesive dessert collection by selecting treats that share your aesthetic. Simple cookies or elegantly plated fruit make excellent companions.
Use cake stands of different heights to create visual interest on your serving table. This allows your main creation to remain the focal point.
The variety of presentation options means one design works for multiple occasions. Just change accessories and accompaniments to suit the celebration.
Sophisticated Baking Begins.
As you complete your stenciled masterpiece, remember that this is just the beginning of your exploration into sophisticated baking.
The skills you’ve gained will serve you well for years to come.
You’ve discovered how clean lines and thoughtful composition create stunning results. This approach to dessert design focuses on quality ingredients and careful technique.
Your Fanta pound cake demonstrates that beautiful creations don’t need complex methods.
Whether preparing for a birthday celebration or simply expressing your love for cake, these principles offer endless options.
The fondant and icing techniques adapt to various occasions and personal preferences.
This idea of elegant simplicity continues to grow in popularity. Your new skills position you to create desserts that feel both contemporary and timeless.
The journey into refined baking has truly just begun.