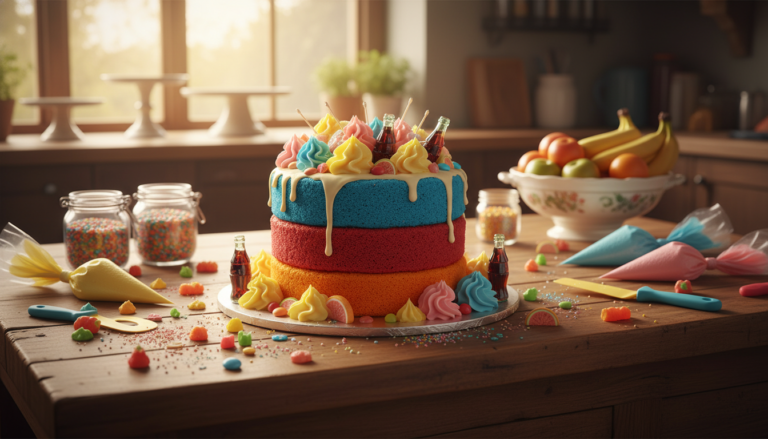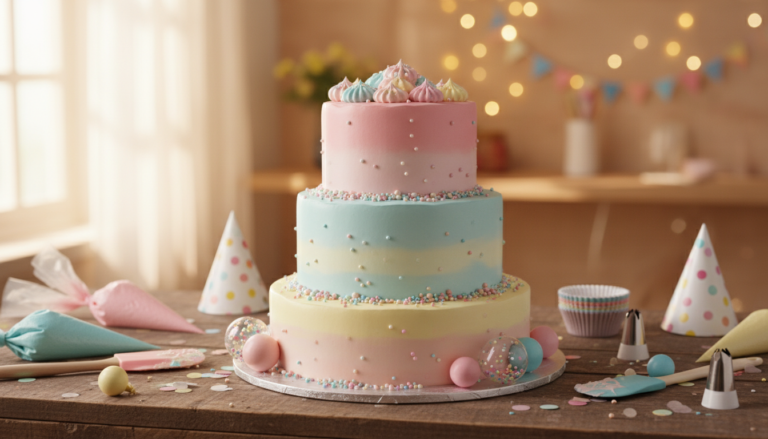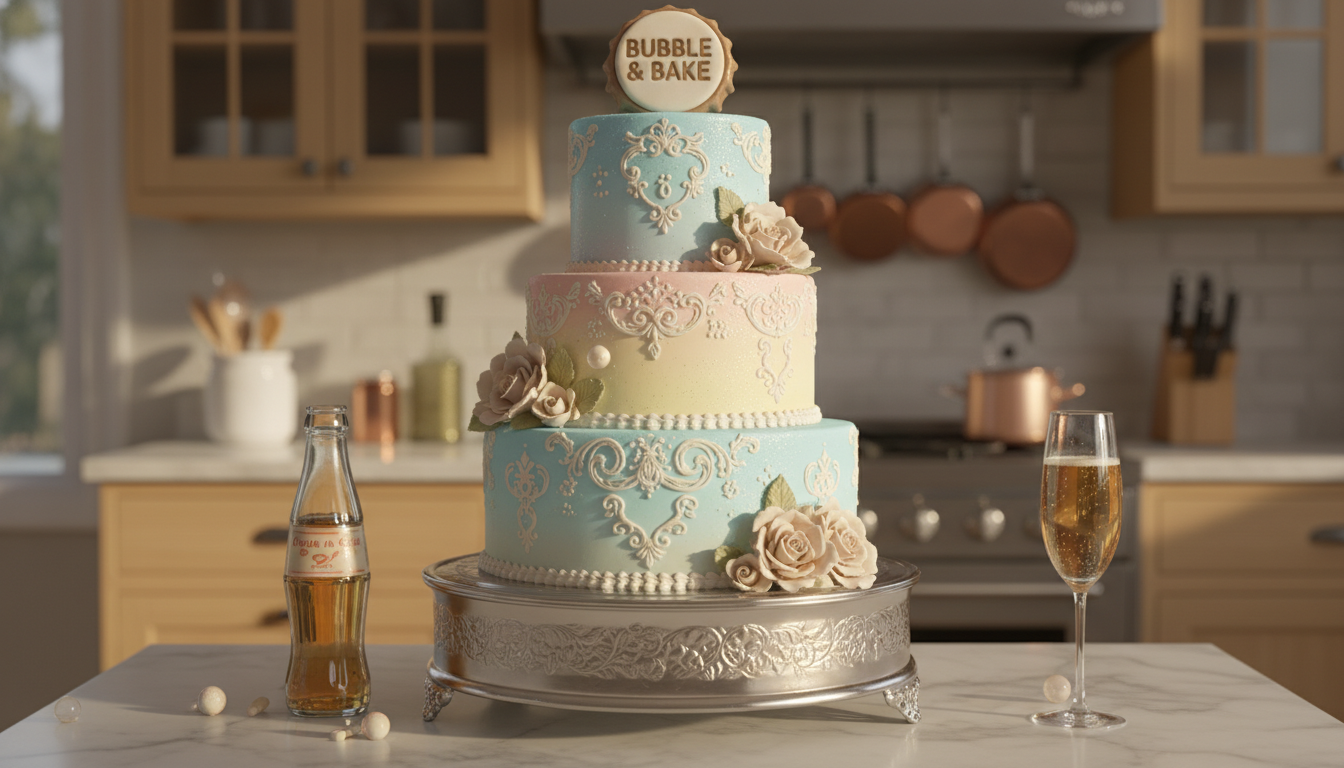
Decorating Tips to Make Soda Cakes Look Bakery-Made
What if you could create a stunning, professional-looking dessert using just a box mix and a can of soda?
It sounds almost too good to be true, but this simple combination has become a favorite for home bakers.
The magic lies not just in the easy recipe, but in how you finish it.
This guide will show you the way to elevate that humble beginning into a masterpiece. You will learn techniques that make your creation look like it came from a specialty shop.
Even though the texture of a soda-based dessert is a bit different, the right approach can create stunning presentations.
We will walk you through every step, from simple ideas to more advanced finishes.
By the end, you will have all the knowledge to impress everyone with your beautifully finished treats. Let’s turn that simple idea into something spectacular.
Key Takeaways
- Transform a two-ingredient dessert into a bakery-quality masterpiece with simple techniques.
- Learn professional methods to enhance the appearance and texture of your creation.
- Discover how strategic finishing touches can mask imperfections for a flawless look.
- Gain confidence with step-by-step guidance suitable for any skill level.
- Access creative ideas that go beyond the basics for truly impressive results.
- Understand why this easy dessert has gained such popularity and how to maximize its potential.
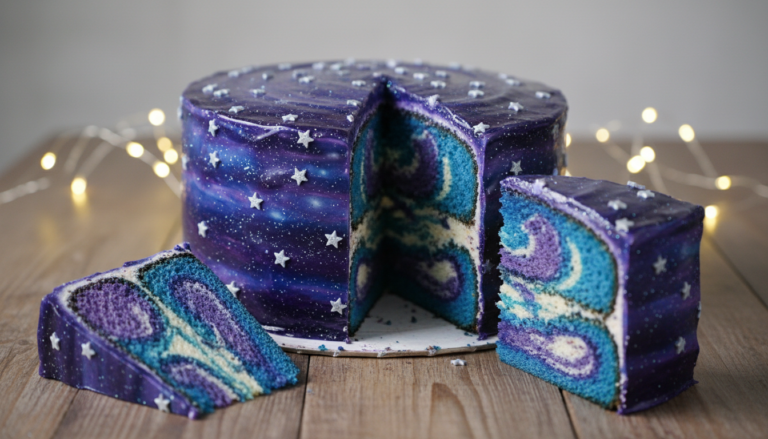
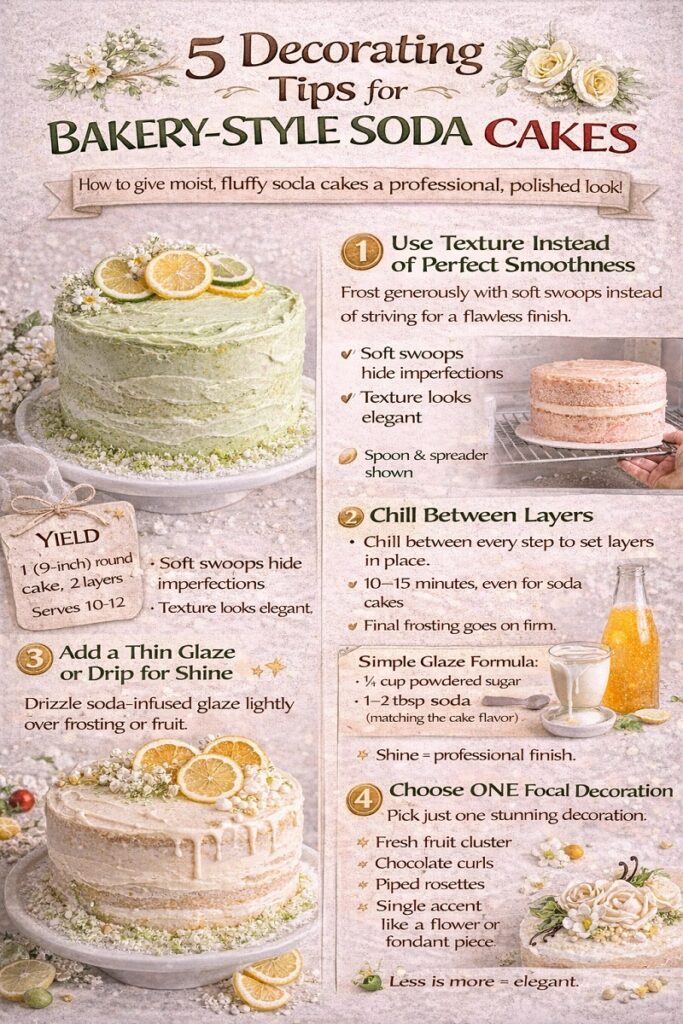
5 Decorating Tips Specific for Soda Cakes
Here are 5 professional decorating tips tailored specifically to soda cakes to help home bakers achieve a true bakery-made finish.
1. Use Texture Instead of Perfect Smoothness
Why it works for soda cakes:
Soda cakes are extra moist and tender, which can make ultra-smooth frosting tricky. Professional bakeries lean into intentional texture.
How to do it:
- Frost the cake generously
- Use the back of a spoon or offset spatula
- Create soft swoops, ridges, or vertical pulls
✨ Textured frosting hides imperfections and looks high-end.
2. Chill Between Layers—Even for 10 Minutes
Soda cakes stay soft longer, which means layers can shift if you rush.
Bakery trick:
- Chill each frosted layer 10–15 minutes
- Final coat goes on firm, clean, and controlled
This single step instantly upgrades structure and appearance.
3. Add a Thin Glaze or Drip for Shine
Soda adds natural sugars that pair beautifully with light glazes.
Simple glaze formula:
- ½ cup powdered sugar
- 1–2 tbsp soda (matching the cake flavor)
Drizzle lightly over frosting edges or fruit.
✨ Shine = professional finish.
4. Choose ONE Focal Decoration
Bakery cakes don’t overload toppings.
Pick one:
- Fresh fruit cluster
- Chocolate curls
- Piped rosettes
- Candy or fondant accent
Let the cake breathe. Minimal = elegant.
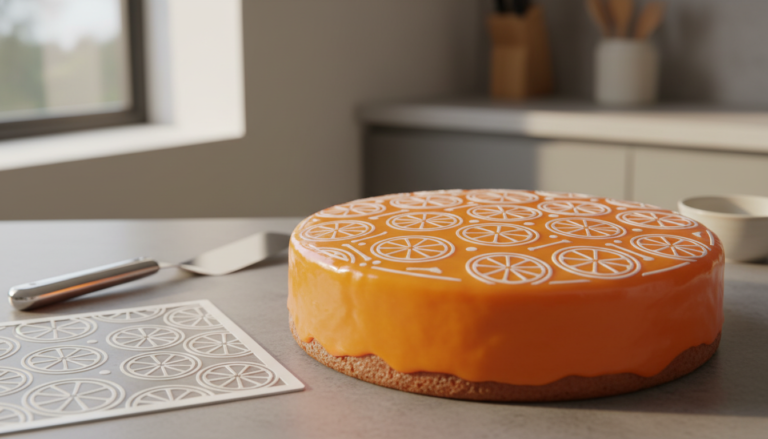
5. Match Decoration to the Soda Flavor
This is where soda cakes really stand out.
Examples:
- Lemon-lime soda → citrus zest, white chocolate
- Orange soda → dried orange slices, gold accents
- Cream soda → pearls, vanilla beans
- Cola → chocolate drizzle, cocoa dust
🍰 When flavor and décor align, the cake feels intentional and professional.
Final Chef’s Note
Soda cakes already have bakery-level moisture. Decoration is simply about restraint, texture, and shine.
Ingredients, Equipment, and Initial Setup
Before the magic happens in the oven, a little preparation sets the stage for bakery-quality results. Getting organized first makes the entire process smooth and enjoyable.
Checking the Box and Gathering Supplies
Your first step is to look at your cake mix box. Check the instructions for the recommended oven temperature. This ensures your creation bakes perfectly.
Gather your simple supplies. You need one box of any flavor cake mix and one 12-ounce can of soda. A large mixing bowl completes your setup.
Read through the box instructions completely. Even though you won’t use eggs or oil, the baking time and temperature guidelines still apply.
Having everything ready lets you work efficiently.
Preparing Your Baking Pan and Preheating the Oven
Turn on your oven to preheat according to the mix directions. Proper temperature is crucial for achieving the right texture in your dessert.
Prepare your chosen pan next. Grease it thoroughly with cooking spray to prevent sticking. If you’re making cupcakes, line your muffin cups with paper liners instead.
Whether you select a round pan, rectangular pan, or cupcake tin, this preparation ensures your finished product releases beautifully. It will be ready for its final presentation.

Decorating Tips for Soda Cakes: A Step-by-Step Guide
Your journey to creating an impressive-looking soda cake involves careful attention to the foundational steps.
Proper technique during mixing and baking sets the stage for beautiful results.
Mixing the Cake Mix with Soda for Perfect Texture
Combine your dry mix with the carbonated beverage in a large bowl. Beat them together for just one to two minutes.
This short mixing time preserves the bubbles that help your creation rise.
A useful approach is to make a well in the center of your dry ingredients. Pour the liquid into this space. Mix gently from the middle outward to maintain carbonation.
Once your batter becomes smooth, stop mixing immediately. Overworking the combination can cause flat results. The fizzy liquid activates the leavening agents naturally.
Baking Techniques and Timing Considerations
Pour your prepared batter into the greased pan or paper-lined cupcake cups. Follow the recommended baking time on your recipe box.
Check for doneness at the minimum suggested minutes.
These creations typically bake within the same timeframe as traditional versions. Allow your baked goods to cool completely before adding any finishing touches.
Proper timing ensures your frosting stays in place.
| Mixing Method | Time Required | Resulting Texture | Recommended Use |
|---|---|---|---|
| Hand Mixing | 1-2 minutes | Light and airy | Best for maintaining bubbles |
| Electric Mixer (low speed) | 1 minute | Consistently smooth | Quick and efficient |
| Folding Technique | 2-3 minutes | Dense but moist | When extra care is needed |
After cooling, apply your chosen buttercream or cream cheese frosting generously. This final layer adds flavor while creating that professional bakery appearance.
The topping also helps hold everything together beautifully.

Creative Flavor Combinations and Pan Selection
The real excitement of this recipe begins when you start pairing different cake mixes with various sodas. This is where you can create truly unique and delicious desserts.
Your choice of bakeware is equally important. It directly affects how well your creation holds its shape after baking.
Exploring Unique Soda and Cake Mix Pairings
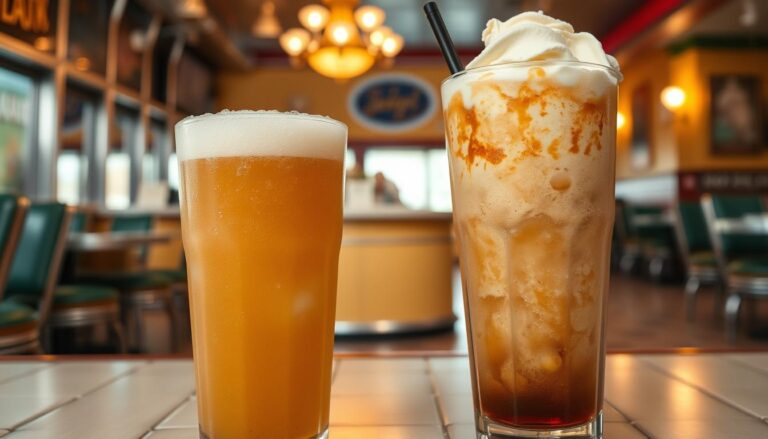
Some flavor combinations are classic for a reason. Vanilla cake mix with root beer creates a fantastic Root Beer Float Cake.
Other great recipes include vanilla with orange pop for a Creamsicle effect. Chocolate cake with root beer makes a Brown Cow twist.
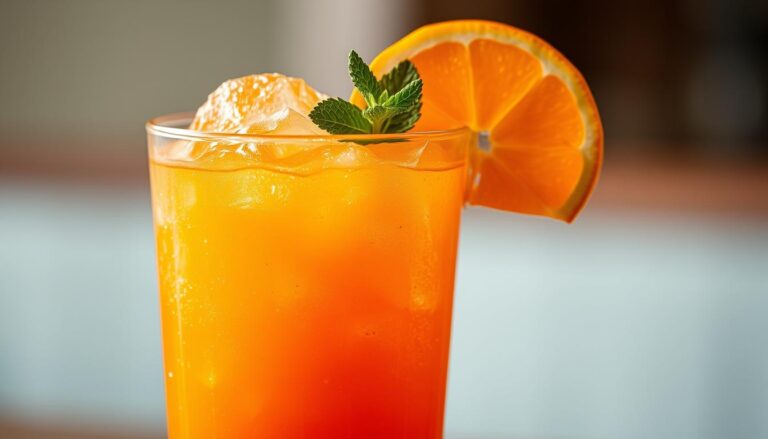
For a citrusy treat, try lemon cake with lemon-lime soda. Vanilla-based mixes let the soda flavor shine through best.
Strong flavors like chocolate create more subtle combinations. You can even use club soda to keep the original cake mix taste.
Selecting the Right Pan for Optimal Cake Structure
Since this batter lacks eggs, structure is key. Cupcake pans give you the best results. The small size helps the cake hold together perfectly.
You can use a round or rectangular pan if you prefer. Just plan to serve your cake directly from it. Trying to flip it out might be tricky.
Bundt pans can be challenging. The cake may rise and then collapse in the center. A dusting of powdered sugar can make it look presentable.
Testing shows cupcake tins provide the most stable structure. They are the safest choice for your creative flavor experiments.
Impressive Treats, Minimum Effort
Your baking skills have reached new heights, allowing you to craft impressive treats with minimal effort. This approach transforms basic pantry items into something extraordinary.
The beauty of this method lies in its simplicity and versatility. You can create moist, delicious desserts without eggs or oil.
The chemical reaction between carbonated beverages and cake mix produces wonderful results.
Experiment with different flavor combinations and presentation styles. Whether making cupcakes or full-sized creations, your finished products will delight everyone.
Enjoy the creative freedom this technique provides.
Next: Create Grinch-inspired soda cakes for the winter holidays.