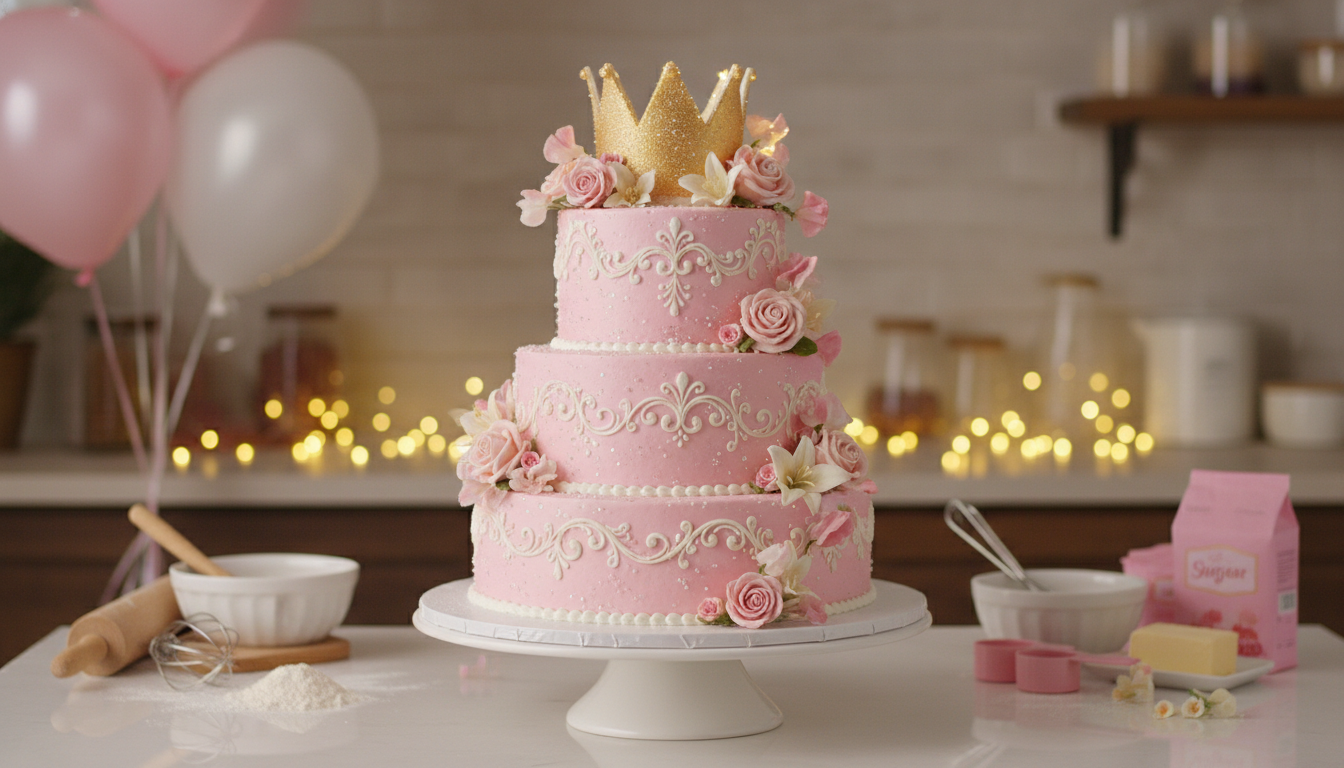
The Ultimate Pink Princess Cake Recipe (Made with Cream Soda)
Want to make a truly original Pink Princess Cake for that special someone? Then you’ve come to the right place.
Welcome to your guide for creating a breathtaking layered treat.
This masterpiece draws inspiration from the famous Swedish Prinsesstårta.
Our unique version introduces cream soda into the batter. This adds incredible moisture and a subtle, sweet flavor that perfectly complements the other components.
It is ideal for birthdays, anniversaries, or any special celebration.
This project might seem involved, but don’t worry. You can prepare each part ahead of time over a couple of days.
This makes the final assembly much simpler and less stressful.
Next you’ll find detailed steps and tips to help you create a stunning centerpiece that is sure to make wonderful memories.
Key Takeaways
- This guide transforms a classic dessert with a modern, flavorful twist.
- Cream soda is the secret ingredient for exceptional moisture and taste.
- The stunning pink marzipan covering makes it perfect for celebrations.
- You can break the process into manageable steps over several days.
- Detailed instructions ensure a successful and impressive baking experience.
- The final result is a multi-layered dessert that delights all the senses.
Recipe for Making the Ultimate Pink Princess Cake
Here’s the recipe for making the Ultimate Pink Princess Cake, elevated with cream soda for a delicate vanilla-caramel lift and an exceptionally tender crumb.
This dessert is suitable for birthdays, bridal showers, and show-stopping dessert tables.
Yield: Three 8-inch layers (serves 16–18)
Style: Elegant, soft pink, refined—not cartoonish
Flavor Profile: Vanilla bean, light caramel, creamy sweetness, ultra-moist crumb
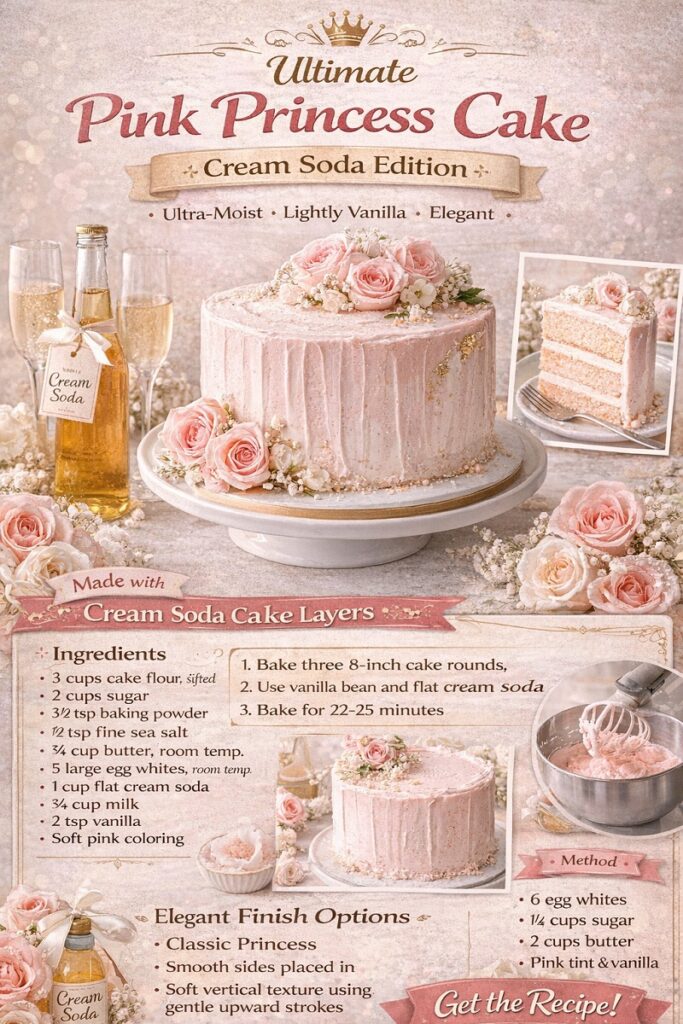
1: Cream Soda Cake Layers
Ingredients
- 360 g (3 cups) cake flour, sifted
- 400 g (2 cups) granulated sugar
- 3½ tsp baking powder
- ½ tsp fine sea salt
- 170 g (¾ cup) unsalted butter, room temperature
- 5 large egg whites, room temperature
- 240 ml (1 cup) cream soda, room temperature and flat
- 180 ml (¾ cup) whole milk, room temperature
- 2 tsp pure vanilla extract
- ¼ tsp almond extract (optional but recommended)
- Soft pink gel food coloring
Method
- Prepare pans & oven
- Heat oven to 175°C / 350°F
- Grease and line three 8-inch round pans
- Combine dry ingredients
- Whisk flour, sugar, baking powder, and salt
- Cut in butter
- Beat butter into dry ingredients on low speed until texture resembles fine crumbs
- Prepare liquid mixture
- Whisk egg whites, milk, flat cream soda, vanilla, and almond extract
- Add a very small amount of pink gel coloring
- Mix batter
- Add liquid mixture to dry ingredients in two additions
- Mix on medium until smooth and evenly colored (do not overmix)
- Bake
- Divide batter evenly among pans
- Bake 22–25 minutes, rotating halfway
- Cakes are done when tops spring back and edges pull slightly from pans
- Cool
- Cool in pans 10 minutes, then turn out onto racks
- Cool completely before assembly
2: Cream Soda Vanilla Syrup (Optional but Recommended)
Ingredients
- 120 ml (½ cup) cream soda
- 2 tbsp granulated sugar
- 1 tsp vanilla extract
Method
- Simmer cream soda and sugar 3–4 minutes until slightly reduced
- Remove from heat, stir in vanilla
- Brush lightly over cooled cake layers
3: Silky Pink Swiss Meringue Buttercream
Ingredients
- 6 large egg whites (180 g)
- 360 g (1¾ cups) granulated sugar
- 450 g (2 cups) unsalted butter, soft
- 1 tbsp vanilla extract
- Pinch fine salt
- Pink gel food coloring
Method
- Heat egg whites & sugar
- Whisk together in a heatproof bowl
- Heat over simmering water until 160°F / 71°C, sugar dissolved
- Whip meringue
- Transfer to mixer and whip on high until stiff peaks and bowl is cool
- Add butter
- Add butter gradually on medium speed
- Beat until smooth, glossy, and fluffy
- Flavor & tint
- Add vanilla, salt, and pink gel coloring
4: Assembly
- Level cake layers if needed
- Place first layer on cake board
- Brush with cream soda syrup
- Spread ½-inch layer of buttercream
- Repeat with remaining layers
- Apply thin crumb coat and chill 30 minutes
- Apply final coat of buttercream
5: Princess-Worthy Decoration
Elegant Finish Options (Choose One)
Classic Princess
- Smooth sides with an offset spatula.
- Soft vertical texture using gentle upward strokes.
- Pearl dragées placed sparingly.
Floral Fantasy
- Cluster of sugar flowers or fresh edible roses on one side
- Light dusting of edible shimmer
Modern Royal
- Two-tone pink buttercream blend
- Gold leaf accents applied with tweezers
- Satin ribbon wrapped around cake board
Storage & Serving
- Store refrigerated up to 48 hours
- Bring to room temperature 1 hour before serving
- Flavor and texture peak at room temperature
Chef’s Notes
- Cream soda enhances moisture and vanilla depth without overpowering sweetness
- Flat soda ensures consistent crumb and stable layers
- This recipe scales beautifully for tiers or cupcakes
Essential Tools for Your Cake Creation
Gathering the right tools is your first step toward creating this stunning dessert.
Having everything organized before you begin makes the process smoother and more enjoyable. Proper preparation ensures each component comes together perfectly.
Must-Have Kitchen Gadgets and Equipment
Your essential equipment starts with an 8-inch round cake pan. Line it with parchment paper for easy removal.
An electric mixer is crucial for beating your batter and whipping cream to perfect peaks.
You’ll need a rolling pin for working with marzipan. A bench scraper helps create smooth surfaces. An offset spatula makes spreading layers much easier.
Keep mixing bowls in various sizes handy. A fine-mesh sieve ensures smooth custard. A serrated knife gives you clean, even layers.
Don’t forget plastic wrap for covering components during storage.

Expert Tips & Tricks for Flawless Cake Assembly
Mastering the final assembly is where your dessert transforms from good to spectacular.
These professional techniques ensure your creation holds its beautiful shape and delivers perfect layers.
Layering Techniques and Timing
Start by lining a bowl with plastic wrap that extends generously over the sides. This creates an easy unmolding system for your masterpiece.
Build your layers in this order: pastry cream base, cake circle, thin jam spread, and generous whipped cream. Repeat if height allows, finishing with your top cake layer.
Create the signature dome shape by concentrating more cream in the center. Cover with the overhanging plastic and refrigerate overnight. This resting time allows layers to set properly.

Enhancing Flavors: Creative Variations and Customization Ideas
Once you’ve mastered the basic construction, the real fun begins with customization.
Personal touches can transform your dessert into something uniquely suited to your taste and occasion.
These creative options let you experiment while maintaining the elegant character that makes this treat special.
Experimenting with Berry Jams and Other Fillings
Tart berry jams provide essential balance to the sweet cream layers. Their bright acidity cuts through the richness beautifully.
Raspberry jam offers classic flavor pairing. Red currant and sour strawberry work equally well. You need about 2-3 tablespoons per layer for noticeable contrast.
Warm your jam briefly to make spreading easier. This creates a thinner, more subtle fruit layer. Lemon curd makes an excellent alternative for citrus lovers.
| Jam Type | Flavor Profile | Best For | Quantity per Layer |
|---|---|---|---|
| Raspberry | Sweet-tart, classic | Traditional celebrations | 2-3 tablespoons |
| Red Currant | Sharp, acidic | Balancing very sweet creams | 2 tablespoons |
| Sour Strawberry | Bright, fruity | Spring and summer events | 3 tablespoons |
| Mixed Berry | Complex, balanced | Year-round versatility | 2-3 tablespoons |
Conclusion
As you admire your finished creation, you’ll see how each component contributes to the final result.
The light sponge enriched with cream soda provides the perfect base. Silky vanilla pastry cream and fluffy whipped cream create beautiful layers.
Don’t feel intimidated by the multiple steps. You can prepare elements over several days to make the process manageable. Each technique builds your confidence as a baker.
Embrace both classic methods and creative variations. Share your creations and join the community of bakers who love this elegant dessert.